
Ductless Mini Split Installation: Step‑by‑Step Guide
You’re ready to ditch ductwork and get precise comfort in every room. This guide walks you through the whole ductless mini split installation process so you can move from planning to perfect climate control.
Step 1: Assess Your Home’s Cooling Needs
Start by figuring out how much cooling power your space actually needs. A good rule of thumb is to calculate the BTU load based on square footage, ceiling height, insulation, and window exposure. Various online calculators can help you walk through those numbers and adjust factors like sun exposure or occupancy. The tool assumes a 72°F indoor set point and a 95°F outdoor temperature, which matches typical California summer days.
Because most units are sized in standard increments, you’ll round the result up to the next available size. Oversizing can cause short‑cycling, higher bills, and extra wear, while undersizing will leave rooms uncomfortable on hot afternoons.
For a more detailed look at sizing, Carrier’s guide explains why a professional load calculation beats a quick square‑foot estimate here. Their experts stress that ceiling height and insulation can shift the required BTU by 10‑15 %.
When you have a rough BTU number, jot it down. By now you should have a clear picture of the capacity each zone will need.
Our team at Home Worx Heating and Cooling services runs a Manual J load calculation on every job, so you never have to guess.
Step 2: Choose the Right Mini Split System
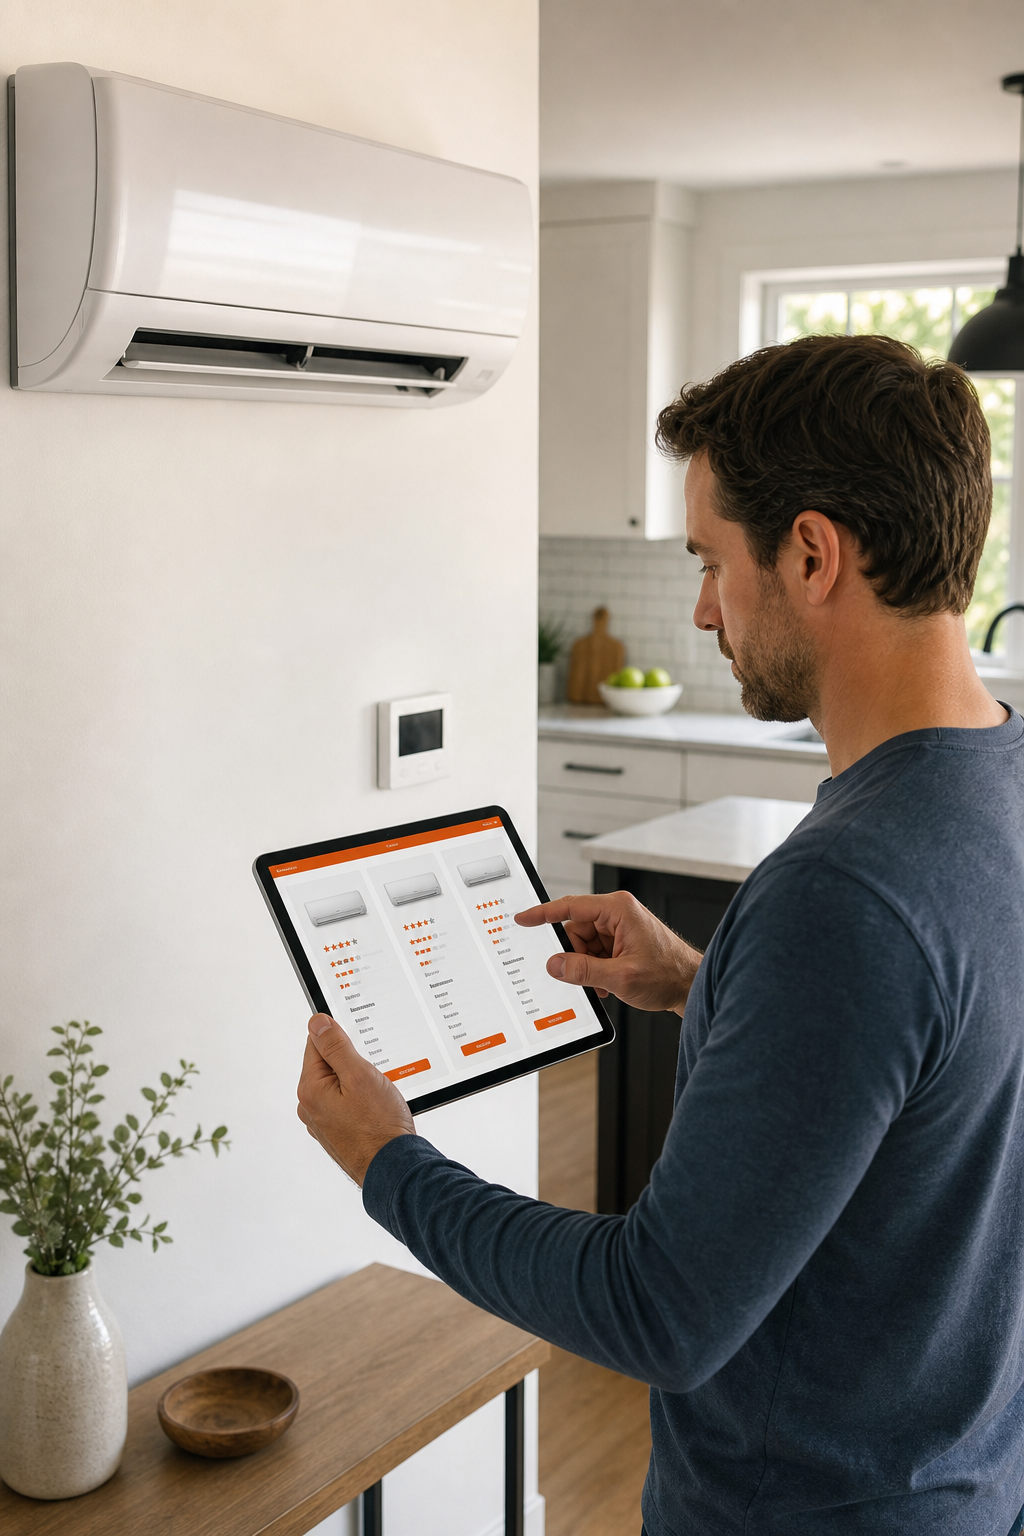
Now that you know the BTU load, pick a system that matches both size and climate. Most brands offer single‑zone and multi‑zone units; the latter lets one outdoor condenser feed several indoor handlers.
Many reputable manufacturers offer models that use environmentally friendly refrigerants with low global‑warming potential, and maintain high efficiency even in sub‑zero temperatures. Some brands have extensive dealer networks, while others may see slight efficiency drops in very cold weather.
Other models are designed to be aesthetically pleasing and operate quietly, though dealer coverage may be stronger in larger metropolitan areas. For tighter budgets, there are options that provide good cooling for warm climates and can operate on standard 115 V circuits, reducing the need for costly electrical upgrades.
We recommend a system that provides both heating and cooling for year‑round comfort. Such units reverse the refrigerant flow, delivering heating and cooling from the same hardware.
Key Takeaway:Match the unit’s BTU rating to the load you calculated, choose a system that provides both heating and cooling if needed, and favor models that use environmentally friendly refrigerants for lower environmental impact.
Consult reputable reviews for deeper brand comparisons.
Step 3: Prepare the Installation Site
With the system chosen, you need to ready the walls and the exterior for the units. The indoor handler should sit high on a wall, about 6 feet from the floor, and at least 6 inches below the ceiling. This height lets the airflow circulate without hitting furniture.
Pick a location away from direct sunlight, kitchen heat sources, and high‑traffic spots. A spot near a window can cause the unit to work harder on sunny days.
For the outdoor condenser, find a shaded, level spot with at least 24 inches of clearance on all sides. A concrete pad works best; a sturdy wall‑mount is an alternative if space is limited.
Next, drill a small pass‑through hole (usually 3‑inches wide) that will carry the refrigerant line, drain pipe, and electrical conduit. Keep the hole as short as possible to minimize line‑set length and pressure loss.
Before any cutting, turn off power at the breaker and shut off the gas if you’re working near a gas line. Safety first.
Our technicians ensure the indoor mounting bracket is properly leveled, which prevents uneven drainage and improves long‑term reliability.
Watch this short video for a visual walk‑through of a typical site‑prep checklist:
Step 4: Install the Indoor and Outdoor Units
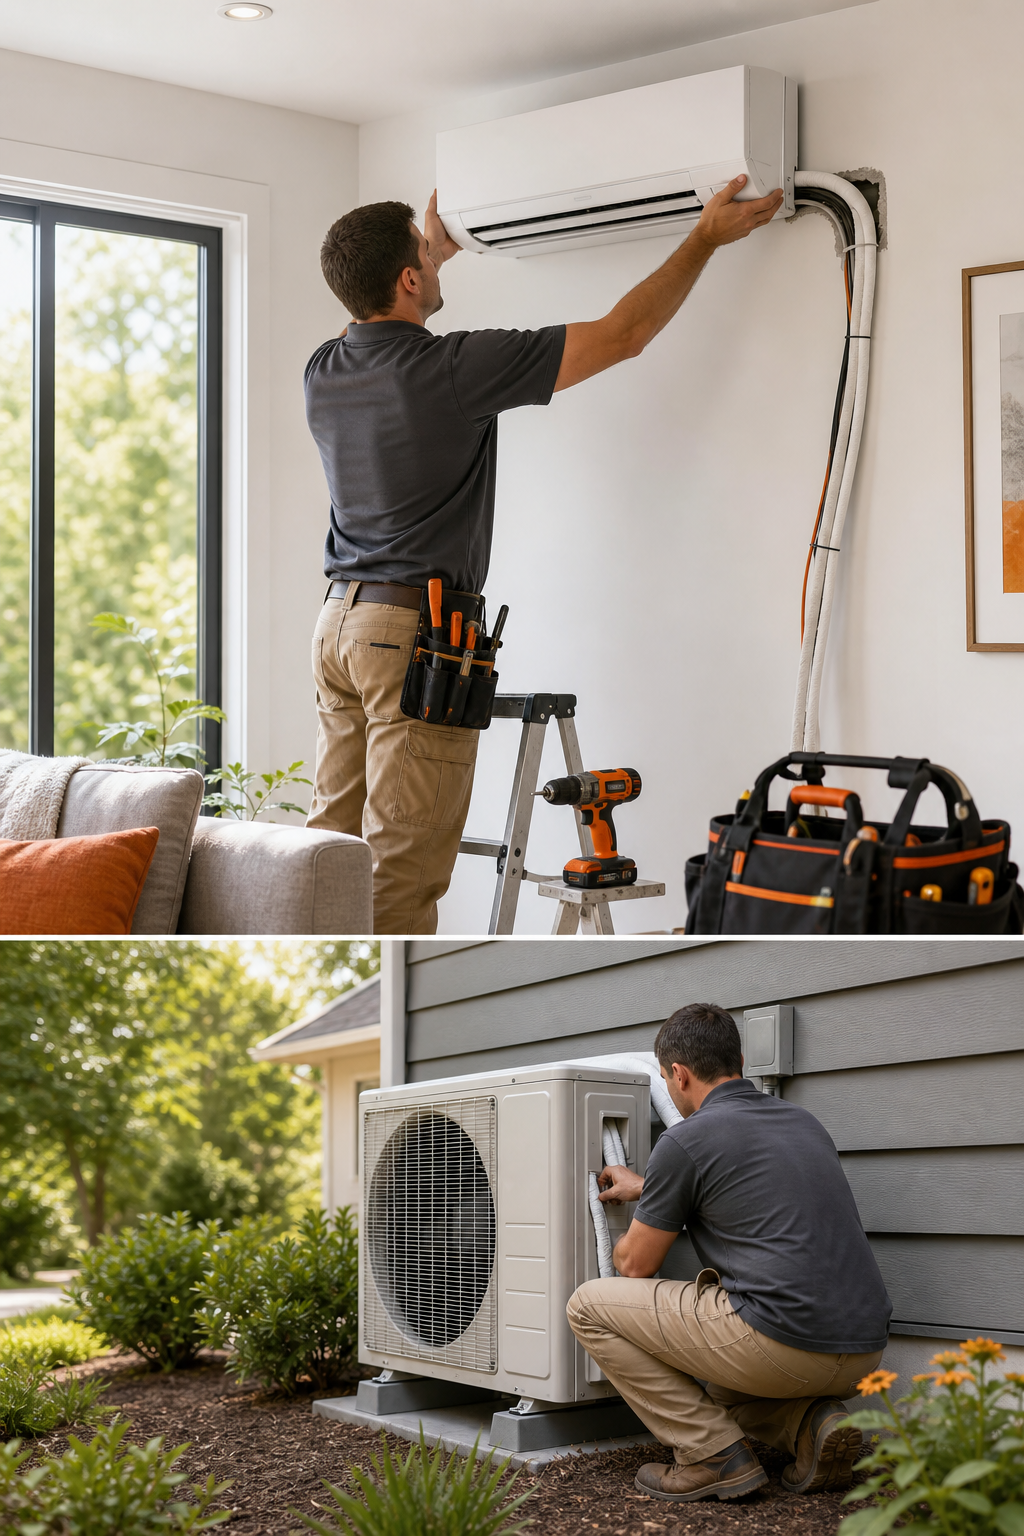
Mount the indoor bracket first. Secure it with stainless‑steel screws into studs, not just drywall. Once the bracket is firm, hang the indoor unit on it and level it using a level.
Run the refrigerant line, drain pipe, and power cable through the wall hole you pre‑drilled. Wrap the refrigerant line in protective insulation to guard against condensation.
Connect the line set to the outdoor condenser. Make sure the fittings are tight but don’t overtighten them; a proper torque wrench will keep the seal intact.
Place the outdoor unit on the pad, level it, and secure it with brackets if required by local code. Verify that there’s no obstruction within the 24‑inch clearance zone.
Now comes the vacuum step. Using a professional vacuum pump, pull a deep vacuum on the line set to remove air and moisture. This prevents corrosion and loss of efficiency.
Finally, charge the system with the correct amount of refrigerant. The exact charge depends on the line‑set length and the manufacturer’s specifications.
After the charge, seal the wall opening with a weather‑proof sealant to keep drafts out.
Pro Tip:Have a licensed technician perform the vacuum and charge. Incorrect handling can void warranties and cause safety hazards.
Step 5: Test, Charge, and Finish the Job
Turn the power back on at the breaker and fire up the system. Verify that the indoor remote displays the correct temperature and that the unit responds to commands.
Run the unit through a full heating and cooling cycle. Check for unusual noises, proper airflow, and consistent temperature changes. Use a thermometer to confirm the room reaches the set point within a reasonable time.
Inspect all electrical connections for tightness and proper grounding. A loose wire can cause a fire hazard.
Finally, schedule a maintenance visit. Our crew at Home Worx offers a post‑install walk‑through and a 5‑year parts warranty, plus optional annual tune‑ups to keep the system humming.
Read our checklist for hiring an HVAC pro to make sure you get a qualified installer here . By now you should have a fully operational mini split, ready to keep your home comfortable year‑round.
FAQ
How long does a ductless mini split installation take?
The typical job spans one to two days, depending on site complexity and the number of indoor units.
Do I need a permit for installing a mini split?
Most California jurisdictions require a mechanical permit for new HVAC work; a licensed contractor will handle the paperwork.
Can I install a mini split myself?
DIY is not recommended because the refrigerant lines are high‑pressure and the electrical work must meet code. Professional installation protects your warranty and safety.
What maintenance does a mini split need?
Clean or replace filters every 1‑3 months, clear debris from the outdoor coil, and have a technician check refrigerant charge annually.
Will a mini split work in my cold winter?
Some ductless mini split models provide heating down to sub‑zero temperatures, though efficiency drops as outdoor temps fall below 20°F.
How do I know which size unit I need?
Use a load calculator or hire a pro to perform a Manual J calculation; the result tells you the exact BTU rating for each zone.
Ready to upgrade your comfort? Contact Home Worx Heating and Cooling for a free estimate and financing options that can start at just a few dollars a day.