
Summer HVAC Maintenance Checklist for Homeowners
Summer heat can turn your home into an oven if your HVAC system isn’t ready. Residents in Sacramento know how quickly temperatures can spike, making regular maintenance essential. We’ve pulled together the exact steps you need to keep your air conditioner humming and your energy bill low. Below is the full summer HVAC maintenance checklist for homeowners.
Step 1: Replace or Clean Air Filters
Start with the filter. A clogged filter makes the unit work harder, wastes power, and can lower indoor air quality. Check the filter each month during the hot season; replace disposable ones or clean reusable ones according to the manufacturer’s guide. Most homes use a low‑MERV (1‑4) filter, but swapping to a higher MERV improves filtration without stressing the blower. Many HVAC professionals often see customers who skip this step and then face higher bills.
When you pull the filter out, note its size and type so you can buy the right replacement. A quick visual check for dust buildup is enough , if it looks dirty, replace it. By now you should have a clean filter in place and a smoother‑running system.
Step 2: Clear Debris from the Outdoor Unit
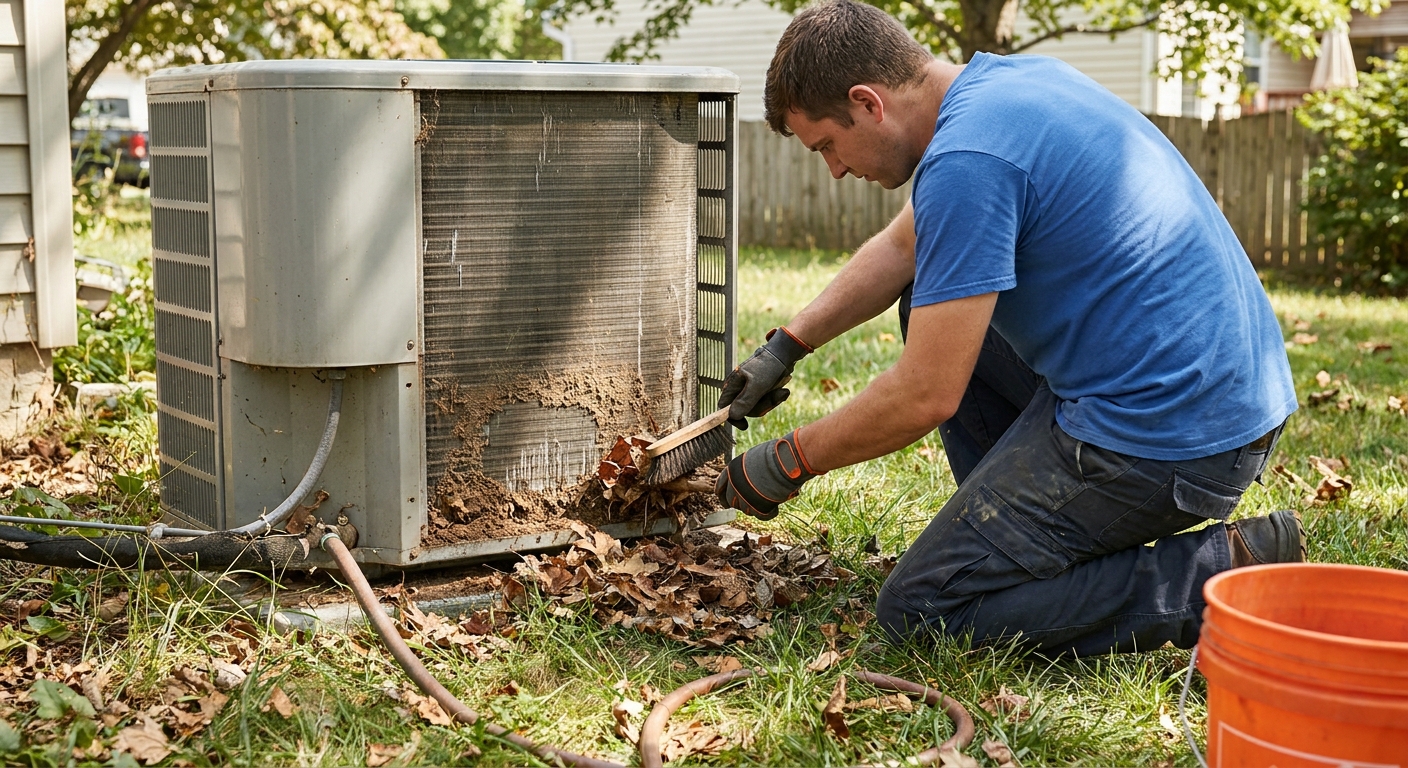
The outdoor condenser needs space to breathe. Leaves, grass clippings, and dirt can block airflow and cause the coil to overheat. Turn off power at the breaker, then gently remove debris with a garden rake or a soft brush. Avoid using a power washer; Carrier warns that high‑pressure water can bend the delicate fins.
After clearing the area, trim any vegetation within two feet of the unit. This keeps critters out and gives technicians room to work later.
Step 3: Check Thermostat Settings and Program Smart Features
Modern thermostats let you set schedules that match your daily routine. Turning the temperature down 7‑10°F for eight hours a day during peak heat can reduce cooling costs. A simple schedule can also protect your system from constant cycling.
If you have a smart thermostat, enable the “eco” mode and let it learn when you’re home. Verify that the fan is set to “auto” instead of “on” , the latter runs the blower continuously and wastes energy. By now your thermostat should be tuned to keep you comfortable without overworking the AC.
Step 4: Clean the Condensate Drain Line
A clogged drain line can cause water leaks and mold growth. Locate the PVC pipe near the indoor unit and pour a cup of distilled white vinegar followed by a gentle flush of warm water. Let the mixture sit for 30 minutes, then run the AC on “fan only” for a few minutes to clear any remaining debris.
After the flush, check the drain pan for water; a dry pan means the line is clear. If water still pools, repeat the vinegar treatment or call a pro.
Step 5: Inspect and Seal Ductwork for Leaks
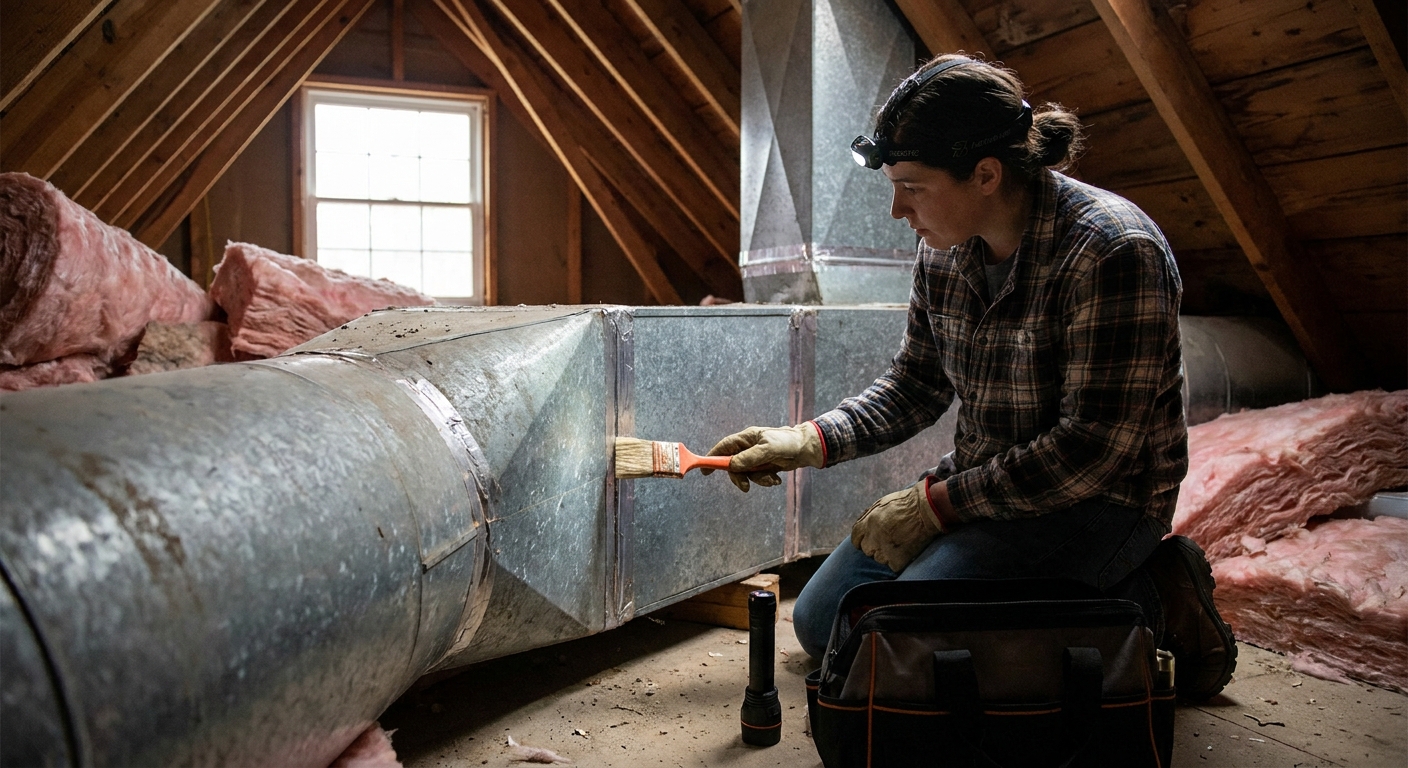
Leaky ducts can waste up to 30% of conditioned air, forcing the system to run longer. Walk the visible duct runs in your attic, crawl space, and basement. Feel for strong air drafts with your hand; listen for whistling sounds when the fan is on. Use a suitable HVAC‑rated sealant or duct tape to seal seams and connections. Professionals often find small gaps that cause big bills.
Insulate ducts that travel through unconditioned spaces to reduce thermal loss. If the job feels beyond DIY, a licensed technician can perform a pressure test to locate hidden leaks.
Step 6: Schedule a Professional HVAC Inspection
Even with diligent DIY care, a licensed technician should give the system a once‑a‑year deep dive. They’ll check refrigerant charge, electrical connections, coil cleanliness, and overall performance. A professional tune‑up before the hottest months can help catch issues that could cause a breakdown.
When you book, ask for a complete report that includes coil pressure readings and any needed part replacements. A good service contract, like the one offered by Home Worx Heating and Cooling , bundles the annual visit with a seasonal tune‑up, saving you time and money.
You might also explore the comprehensive maintenance plans highlighted by Rocklin HVAC for additional peace of mind.
By now you should have a clean filter, a clear outdoor unit, a smart thermostat schedule, a free‑flowing drain line, sealed ducts, and a pro’s seal of approval.
FAQ
How often should I replace my HVAC filter?
Replace the filter at least once every three months, or more often if you have pets or allergies; a dirty filter forces the system to work harder and can raise energy costs.
Can I clean the outdoor unit myself?
Yes, you can clear debris with a soft brush and vacuum; just turn off power first and avoid pressure washing, which can damage the fins.
What temperature should I set my thermostat to in summer?
Set it around 78°F when you’re home and raise it 7‑10°F while you’re away; this balance keeps you comfortable and cuts cooling costs.
How do I know if my ducts are leaking?
Feel for drafts, listen for whistling, and look for uneven room temperatures; a professional can do a pressure test for hidden leaks.
When is the best time to call a professional for a tune‑up?
Schedule the visit in early spring or early summer, before the AC runs for long periods; this prevents surprise breakdowns during peak heat.
Conclusion
Start with a fresh filter, clear the outdoor unit, fine‑tune your thermostat, clean the drain line, seal any duct leaks, and then let a licensed pro verify everything. For a hassle‑free experience, explore our full guide on seasonal HVAC maintenance plans.