
AC Not Turning On? Here's How to Fix It
- Bryn Fortmuller
- Jul 26
- 10 min read
Your AC decides to quit on the hottest day of the summer. No click, no hum, nothing. Before you assume the worst, there's a good chance you can find the problem yourself , and in some cases, fix it in under ten minutes. Work through these steps in order and you'll know exactly what's going on.
Step 1: Check the Thermostat Settings and Power
Start here. It sounds obvious, but a surprising number of service calls trace back to a thermostat set to the wrong mode or a dead battery.
Go to your thermostat and confirm it's set toCool, not Heat or Off. Then check that the set temperature islowerthan the current room temperature. If the room is 78°F and the thermostat is set to 76°F, the system has no reason to run. Drop it to 70°F and wait two minutes to see if anything responds.
Next, check the batteries. Low batteries are a common culprit that most homeowners overlook. When battery voltage drops, the thermostat's switching mechanism may not be strong enough to close the electrical contacts between the R wire (power) and the Y wire (cooling signal). Swap in fresh batteries and try again.
If you have a programmable or smart thermostat, a background schedule might be fighting you. Look for aHoldbutton and activate it to override any programming. This forces the thermostat to hold your chosen set point regardless of what's scheduled.
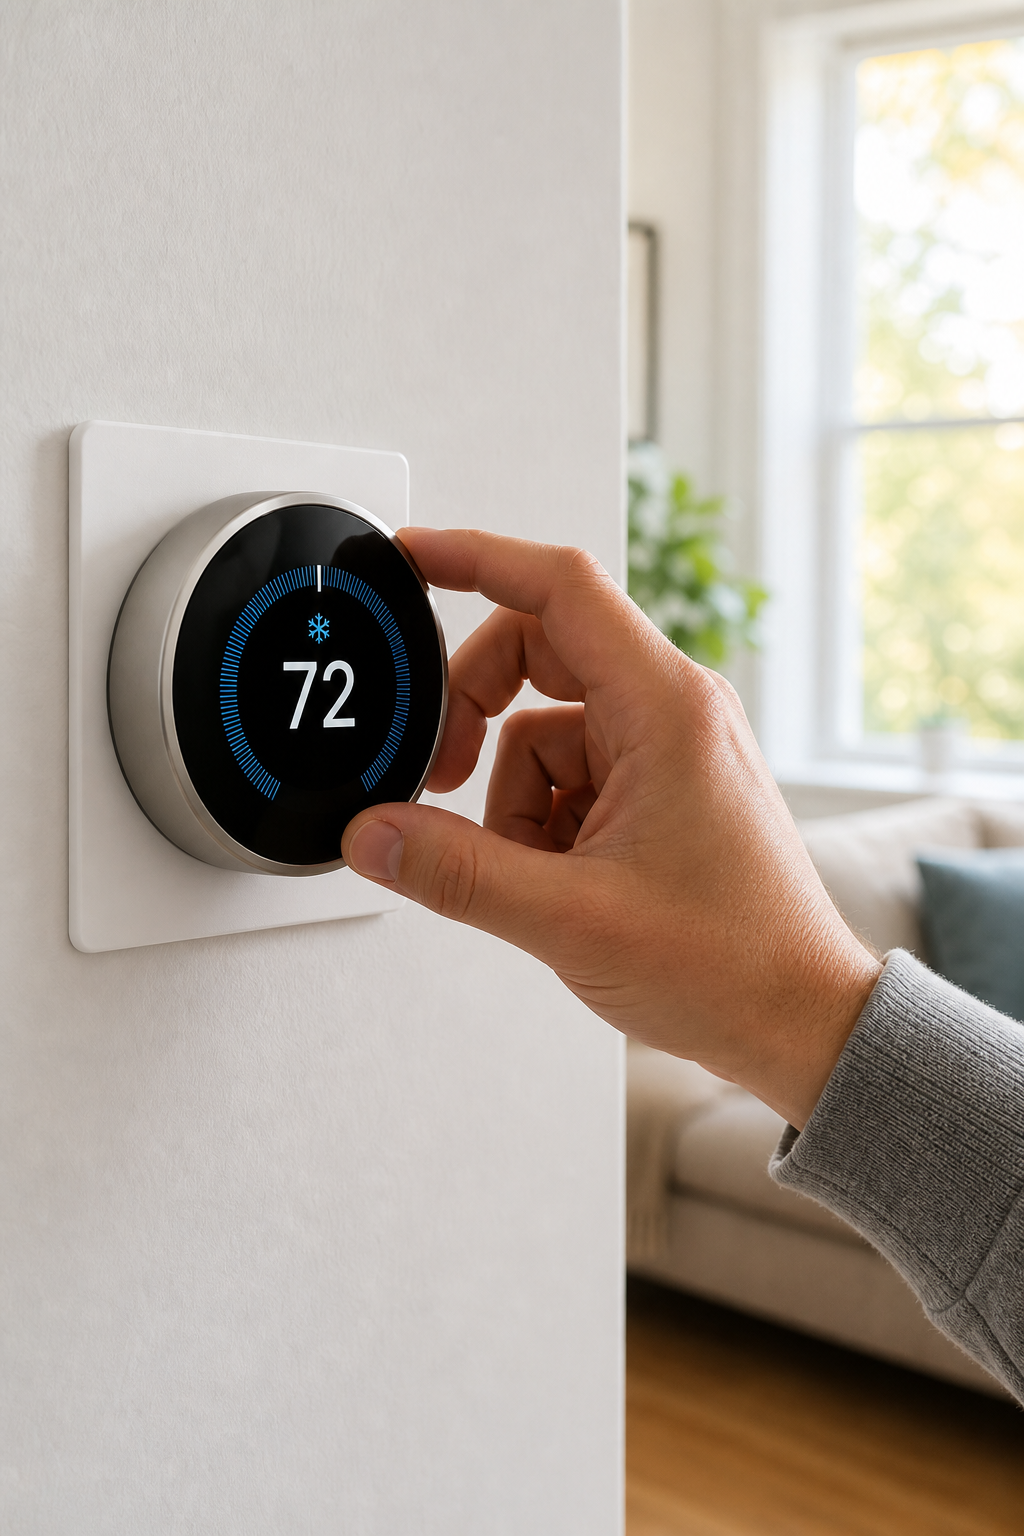
One wiring detail worth knowing: if someone recently installed a new thermostat, confirm there's a jumper between the R and RC terminals. If your system has both terminals and no jumper, the cooling circuit won't complete. This trips up a lot of DIY installs , the heat works fine all winter, then AC season arrives and nothing happens. If you're thinking about upgrading, on smart thermostat installation costs and options to understand what's involved.
Also look for an emergency disconnect switch near your furnace or air handler. It looks like a standard light switch and sometimes gets bumped accidentally. Make sure it's in the On position before moving forward.
Pro Tip:After checking the thermostat, turn the fan setting from Auto to On. If the indoor fan starts blowing air, your thermostat and control board are communicating. If nothing happens, the problem is almost certainly downstream from the thermostat.
Step 2: Reset the Circuit Breaker and Check the Disconnect Switch
If the thermostat checks out, head to your electrical panel. A tripped breaker is one of the most common reasons an AC stops responding.
Your furnace or air handler runs on a 120-volt single-pole breaker. Your outdoor condensing unit typically runs on a 240-volt double-pole breaker , two handles tied together, or one wide single handle. A tripped breaker sits in the middle position, not fully On or fully Off. It won't always look obviously wrong at a glance, so physically push the breaker all the way to Off first, then back to On. That's the correct reset sequence.
If the breaker trips again immediately or within a few minutes, stop. Repeated tripping means the circuit is drawing more current than it should, which usually points to a failing compressor, a shorted capacitor, or a wiring problem. Resetting it repeatedly won't fix the underlying issue and can damage components further. This is the point to call a licensed technician.
Next, go outside to the outdoor unit and find thedisconnect box. It's a metal box mounted on the wall near the unit. Open it and check whether the pull-out block or fuses inside are intact. Some disconnect boxes hold cartridge fuses, and a blown fuse here will shut the whole outdoor unit down. You can pull the fuse block out entirely to cut power safely while you inspect. Blown fuses often show visible burn marks or a dark spot inside the glass body.
If the fuses are blown, replace them with the correct amperage rating listed on the unit's nameplate. A blown fuse usually indicates something else caused a surge , so after replacing, watch whether it blows again. If it does, the fuse is protecting you from a deeper problem that needs professional diagnosis.
A blown fuse almost always indicates a fault downstream rather than a fuse failure on its own , which is why replacing without investigating the root cause leads to repeat failures.
Step 3: Inspect the Air Filter, Condensate Drain, and Safety Switches
Two internal systems can shut your AC down completely without any obvious electrical fault: a clogged air filter and a backed-up condensate drain. Both trigger safety shutoffs designed to protect the equipment.
Pull out your air filter first. If it's gray, matted, or you can't see light through it, it's restricting airflow enough to cause problems. A severely clogged filter can cause the evaporator coil to freeze over, which blocks airflow even further and may prevent the system from starting. Replace it with the correct size and MERV rating for your system.
Now check the condensate drain. Your AC pulls moisture out of the air, and that water drains through a line from the indoor unit. When the drain line clogs, water backs up into the drain pan. Most systems have a condensate safety switch , a small float switch in the pan or along the drain line , that kills the system when it detects standing water. If this switch trips, the AC won't turn on no matter what you do at the thermostat.
To clear a clogged drain line, you can push a small brush through the trap or blow compressed air through the tube. You can also use a wet/dry shop vac on the drain outlet at the other end to pull the clog out. Once cleared, fill the trap with clean water and confirm it drains before restoring power.
While you're inside the air handler cabinet, check thedoor safety switch. This small button switch sits where the access panel meets the cabinet frame. When the panel is removed, the switch opens the circuit and shuts the system off , a safety feature to prevent the blower from running with the panel open. If the panel isn't seated fully, or if the switch has shifted out of alignment, it will keep the system from starting even with the panel back on. Press the door panel firmly and listen for it to click into place.
In the Sierra foothills around Placer and Nevada County, dust and dry debris accumulate fast in summer. Checking the filter and drain every month during peak cooling season is worth the two minutes it takes.
Step 4: Examine the Outdoor Unit — Coils, Obstruction, and Contactor
Go outside and look at the condenser unit. You're checking for three things: physical obstructions, dirty coils, and a failed contactor.
Clear any vegetation, debris, or dirt within two feet of the unit on all sides. Shrubs, tall grass, or accumulated leaves restrict the airflow the condenser needs to dump heat. If the fins on the outside of the unit are visibly clogged with dust or cottonwood, the coil can't release heat efficiently , which causes the compressor to work harder and potentially trip a thermal overload switch.
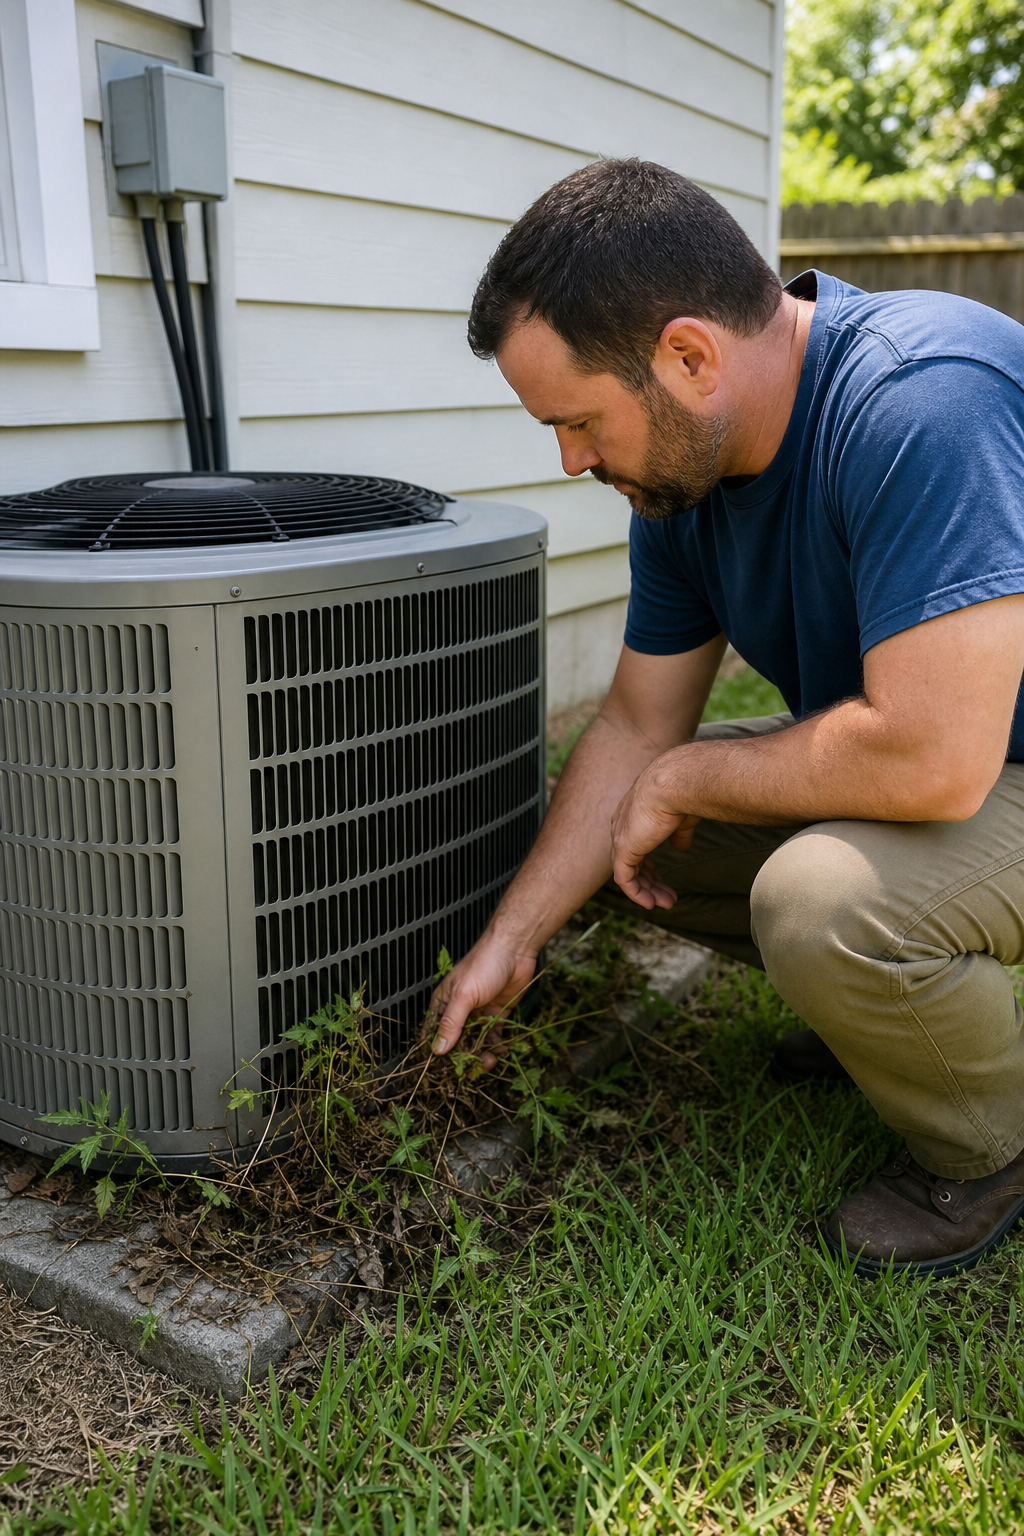
For light dirt, a gentle rinse with a garden hose works well. Set the nozzle to a low-pressure fan pattern and spray downward along the fins , not sideways across them. Never use a pressure washer on coil fins; the aluminum bends easily and permanently restricts airflow. If the coil has significant buildup, our detailed post on how to clean air conditioner coils walks through ten methods ranked by situation.
After looking at the coils, locate thecontactorinside the outdoor unit's electrical compartment. This is a small relay switch that receives a 24-volt signal from the thermostat and closes to allow 240 volts to reach the compressor and condenser fan motor. Remove the side panel (with the disconnect pulled out for safety) and look at the contactor. You should see two sets of contacts. If the contact surfaces are burned, pitted, or welded together from repeated arcing, the contactor needs replacement. A contactor that won't close means the outdoor unit gets no power even when the thermostat calls for cooling.
You can also check whether the contactor is receiving its signal. With the disconnect back in and the thermostat calling for cool, the contactor should pull in and hum slightly. If you hear a click inside the unit but the compressor doesn't start, the contactor is working but something else , often a capacitor , is failing to start the motors.
Key Takeaway:A contactor that buzzes but doesn't click closed almost always means the 24-volt signal from the thermostat isn't reaching it , check your thermostat wiring before replacing the contactor.
Step 5: Test the Capacitor and Listen for Warning Signs
The capacitor is one of the most common reasons an AC won't start , and it's something you can test yourself if you have a multimeter with a capacitance function.
The capacitor stores energy and delivers a jolt to start the compressor motor and the condenser fan motor. Most central AC units use a dual-run capacitor with three terminals: C (common), HERM (compressor), and FAN. The capacitor has two microfarad ratings stamped on its side , one for the compressor, one for the fan motor.
With the power off and the disconnect pulled, discharge the capacitor by briefly shorting the terminals with an insulated screwdriver before touching anything. Then set your multimeter to the capacitance (MFD or µF) setting. Touch the probes to the C and HERM terminals. The reading should be within 10% of the rated value on the label. Do the same for C and FAN. A reading that's well below the rating , say, 14 µF on a 55 µF capacitor , tells you it's failed.
The most telling sound of a bad capacitor is a humming noise from the outdoor unit with no fan spinning. The compressor or fan motor is trying to start but can't get enough of an initial jolt. You can sometimes confirm this by gently spinning the fan blade with a long stick while the unit is trying to run , if the fan takes off on its own after a nudge, the capacitor is the problem.
Replacing a capacitor is one of the more accessible DIY repairs. Take a photo of all the wire connections before removing the old one. Match the replacement to the exact microfarad ratings and voltage rating on the original. Universal capacitors are available at most HVAC supply houses and work with a wide range of units.
If you're not comfortable discharging and handling capacitors, this is a quick job for a technician. At Home Worx Heating and Cooling , we carry common capacitor sizes on our service vehicles, so for most homeowners in Auburn, Colfax, and the surrounding Placer County area, it's a same-visit fix.
Step 6: Recognize Signs of Refrigerant Leaks and Wiring Problems
If you've worked through steps one through five and the system still won't start , or it starts but cools poorly , you're likely looking at a refrigerant problem or a wiring fault. Neither is a DIY fix.
Low refrigerant doesn't usually prevent the system from turning on entirely, but it can trigger a low-pressure safety switch that shuts the compressor down. Signs include the system running but producing lukewarm air, ice forming on the refrigerant lines near the indoor unit, or a hissing sound near the outdoor unit. In California, handling refrigerants requires an EPA Section 608 certification, so this is strictly licensed-technician territory.
Wiring problems are less predictable. A chewed thermostat wire (rodents are common in foothill areas), a wire staple that's cut through insulation, or a corroded terminal connection can all interrupt the 24-volt control signal and prevent the system from starting. If you have a multimeter, you can test for 24 volts between the Y and C terminals at the air handler's control board with the thermostat calling for cool. No voltage there means the signal isn't arriving , trace the thermostat wire back to find the break.
A failed 24-volt fuse on the control board is also worth checking at this stage. It looks like a small automotive-style fuse and is usually mounted directly on the board. A blown fuse here cuts all control signals and shuts the entire system down — and a blown fuse almost always indicates a fault downstream rather than a problem with the fuse itself. Replacing it costs almost nothing, but if it blows again immediately, a short somewhere in the thermostat wiring is the likely cause.
When the issue is beyond a filter swap or a capacitor, the Home Worx Heating and Cooling team offers 24/7 emergency repair across Placer and Nevada County. For situations that can't wait, you can also review our list of emergency AC repair options in Placer and Nevada County to understand what to expect from a service call.
Federal refrigerant regulations make clear that purchasing and handling refrigerants without proper certification is illegal for good reason , improper handling is both an environmental and safety risk. Don't let a YouTube video talk you into attempting a refrigerant recharge yourself.
Frequently Asked Questions
Why is my AC not turning on even though the thermostat is set correctly?
The most common causes are a tripped circuit breaker, a blown fuse in the outdoor disconnect, a triggered condensate safety switch from a clogged drain line, or a failed capacitor. Work through each in order , breaker first, then the disconnect, then the drain pan, then the capacitor. If none of those resolve it, a wiring fault or failed contactor is likely and needs a technician.
How do I know if my AC capacitor is bad?
A bad capacitor often causes a humming sound from the outdoor unit with no fan movement. You can confirm it by testing with a multimeter set to capacitance (MFD). If the reading is more than 10% below the value printed on the capacitor's label , especially on the compressor (HERM) side , the capacitor has failed and needs replacement before the system will start reliably.
Can a dirty air filter cause the AC to stop turning on completely?
Yes. A severely clogged filter restricts airflow enough to freeze the evaporator coil. A frozen coil can eventually trigger safety switches that shut the system down. Replace the filter, let the coil thaw for an hour or two with the fan running on its own, then try the AC again. Going forward, check the filter monthly during heavy-use months.
What does it mean if my AC breaker keeps tripping?
A breaker that trips repeatedly is protecting you from an overcurrent condition , meaning something in the circuit is drawing more power than it should. Common causes include a failing compressor, a shorted capacitor, or a grounded wire. Reset it once to confirm the trip. If it trips again within minutes, stop resetting it and call a licensed HVAC technician to diagnose the underlying fault.
Can I fix an AC refrigerant leak myself?
No. Under California and federal regulations, handling refrigerants requires proper certification. A technician will locate the leak, repair it, and recharge the system to the correct pressure. Attempting a DIY refrigerant recharge using over-the-counter cans is rarely effective for central systems and can damage the compressor if the system is overcharged.
When should I call a professional instead of troubleshooting myself?
Call a professional if the breaker trips more than once, if you find burned wiring or a heavily pitted contactor, if you suspect a refrigerant leak, or if the system still won't start after checking the thermostat, breaker, filter, drain line, and capacitor. Issues involving the compressor, refrigerant, or control board are beyond safe DIY territory for most homeowners.
Wrapping Up
Most of the time, an AC that won't start has a straightforward cause , a tripped breaker, a clogged drain, dead thermostat batteries, or a failed capacitor. Check those first and you'll resolve the majority of no-start situations without a service call. When the problem turns out to be refrigerant, wiring, or a compressor, that's where professional help matters. If you're in Placer or Nevada County and need a hand, the Home Worx Heating and Cooling team is available around the clock , see our full HVAC services to find the right solution for your home.