
How to Clean Air Conditioner Coils: 10 Methods
- Bryn Fortmuller
- Jul 21
- 12 min read
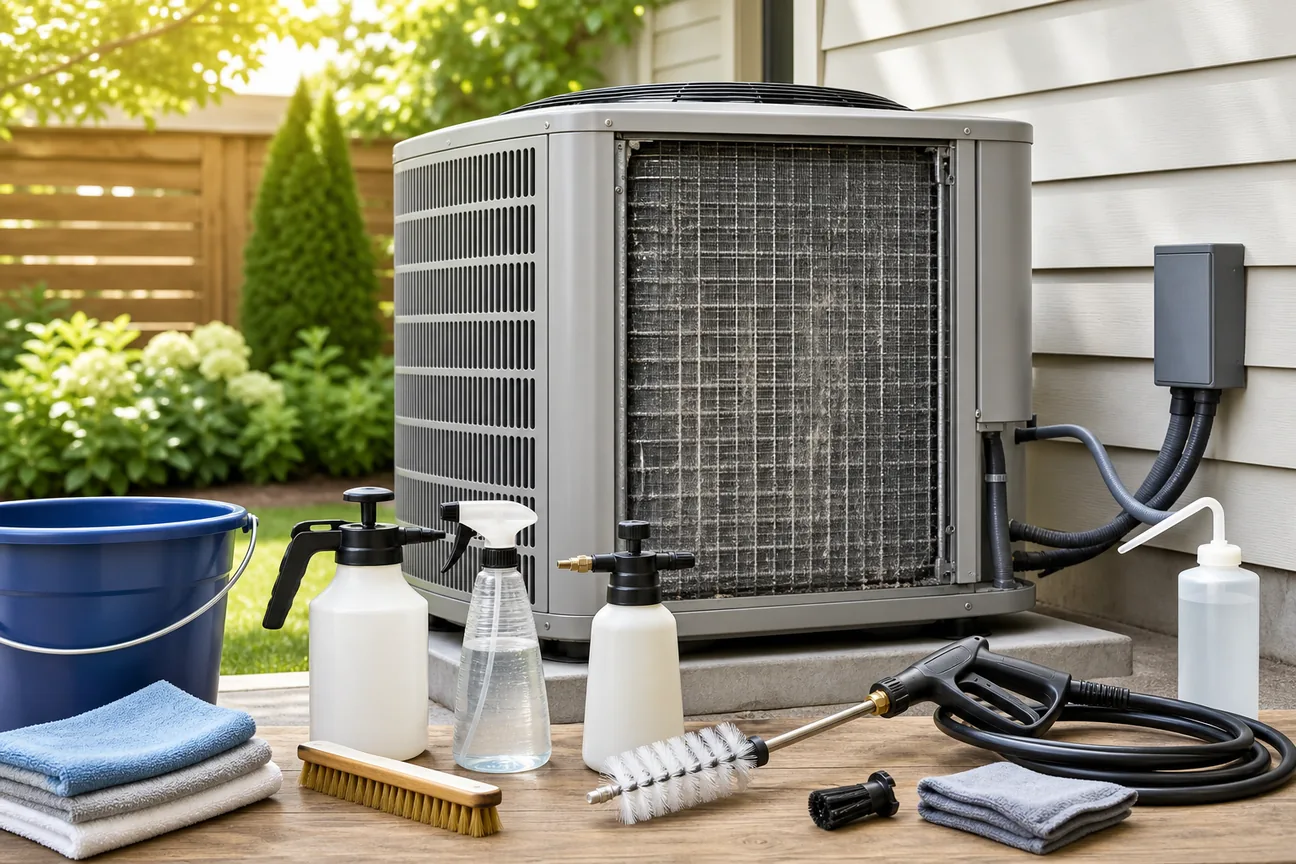
Dirty AC coils are one of the most common reasons your system runs longer, blows less cold air, and drives up your energy bill. The fix is simpler than most people think , but only if you use the right method for your unit. Here are 10 ways to get the job done, starting with the option that gets the best results every time.
1. Home Worx Heating and Cooling Professional Coil Cleaning (Our Top Pick)
Most DIY guides gloss over one thing: how long the job actually takes and what can go wrong. Only about 22% of the cleaning guides out there mention safety precautions at all, and even fewer tell you about the real risk of bending delicate aluminum fins with the wrong technique. That's where professional service pays for itself.
Home Worx Heating and Cooling is a family-owned HVAC contractor serving Placer and Nevada County, CA, with 29 years of experience. Our team handles both evaporator and condenser coils, checks refrigerant levels, clears the condensate drain, and inspects electrical connections , all in one visit. We back the work with a satisfaction guarantee and offer next-day service when your system needs attention fast.
The honest case for hiring us isn't that DIY is impossible. It's that a trained technician spots issues you won't see , a bent fin section that's been restricting airflow for months, a refrigerant level that's slightly low, a drain line that's about to back up. Those finds during a coil cleaning appointment often prevent a much more expensive repair later.
If you want guaranteed results without the learning curve, this is where to start. We also offer financing, so the cost doesn't have to hit all at once.
2. Foaming Coil Cleaner Spray
Foaming coil cleaner is the go-to method for condenser coils with moderate buildup. The foam sticks to the fins instead of running straight off, which gives the cleaner time to break down grease and grime before it drains away. This matters because a fast-dripping liquid cleaner doesn't dwell long enough to dissolve stubborn deposits.
You'll find foaming cleaners at any home improvement store. Most cans have a straight-stream nozzle that pushes the product between the fins rather than just coating the surface. Start at the bottom of the coil where rain-splashed dirt tends to concentrate, then work upward. Let the foam sit for the time listed on the can , usually two to five minutes , then rinse gently with a garden hose set to a low-pressure shower or fan pattern.
One important note: foaming cleaners contain active chemical agents. Wear safety glasses and gloves. Some manufacturers actually advise against using coil cleaner at all if the unit gets regular annual rinses, since heavy cleaner on a coil without much buildup can slowly affect the metal. Use it when you have visible grime, not as a default every season.
Foaming sprays are usable for most homeowners tackling a single-wall outdoor condenser. For dual-wall units or indoor evaporator coils, a different approach is safer.
3. Garden Hose Rinse Method for Condenser Coils
A plain garden hose with a nozzle is the simplest method for outdoor condenser coils that get regular maintenance. If you rinse the coil once or twice a year, dust hasn't had time to pack into the fins, and water alone does the job.
The key is spray angle and pressure. Set the nozzle to jet or a firm shower , not pressure-washer force. Start at the top of the coil and work downward so debris flows out the bottom drainage holes rather than packing deeper in. Spray in a downward motion along the fins, not sideways across them.
A common myth is that you must remove the top lid to spray from the inside out. For single-row coils, that's not necessary. The fins are so fine that water essentially disintegrates surface dust on contact. Dual-row coils are different , an inner row won't get reached from the outside alone, which is one argument for removing the lid or calling a pro.
Always cut power at the disconnect before spraying. Close the breaker box door to keep water out of the electrical panel. Once you're done, wait at least 30 to 60 minutes before restoring power so everything can dry.
This method works best as a semi-annual habit. Most HVAC maintenance guidance recommends cleaning on a regular schedule — typically spring before cooling season and again in fall.
4. Soft Brush and Vacuum Debris Removal
Before any wet cleaning, dry debris removal protects the coil. Leaves, bark chips, grass clippings, and dead insects collect inside the condenser cabinet and at the base. If you apply liquid cleaner on top of that material, you're often just moving it around rather than removing it.
A shop vac with a brush attachment pulls loose debris out without bending the fins. Work slowly and keep the suction head moving , holding it in one spot too long against the fins can cause the same warping damage as aggressive pressure washing. The fins are thin aluminum and bend with surprisingly little force.
For the coil surface itself, a soft-bristle brush (a fin brush or a gentle coil brush sold at HVAC supply stores) lets you loosen compacted dust without the risk of a hard wire brush or steel wool, both of which can scratch and corrode the metal. Brush in the direction of the fins, not across them.
Pro Tip:After vacuuming the inside of the cabinet, check the drain holes at the base. These small ports let condensation flow out during operation. If they're packed with mud or debris, clear them with a thin rod or gentle flush before moving on to wet cleaning.
This step pairs well with any of the wet methods above. Dry first, then spray. The combination is what professional technicians do on every coil cleaning visit , and it's why their results tend to last longer than a quick spray-and-rinse.
Keeping your coils clean is also directly tied to improving indoor air quality at home , since dirty coils circulate more dust and contaminants through your ductwork.
5. Compressed Air Blow-Out for Evaporator Coils
Evaporator coils , the indoor coils inside your air handler or furnace , collect dust differently than the outdoor condenser. They're in a contained space, surrounded by ductwork and electrical components. That makes wet cleaning much riskier without proper access and protection.
Compressed air is the safer first pass for lightly dusty evaporator coils. A can of compressed air or a low-pressure air compressor with a nozzle can blow dust off the fins without introducing moisture near sensitive components. Work from the clean side of the coil toward the dirty side so you push debris out rather than pack it in further.
Wear safety glasses. Dislodged coil dust is fine enough to irritate your eyes, and you can't always predict which direction it will travel. A dust mask is also worth wearing in a tight equipment room.
The limitation of compressed air alone is real: it handles surface dust but won't cut through oily buildup or mold. According to the refrigeration cycle that makes AC work, evaporator coils run wet , moisture condenses on them constantly during cooling. That moisture creates a surface where mold and bacteria can grow, and compressed air alone won't remove that biological buildup.
For deeper evaporator coil cleaning, Trane's guidance is clear: leave thorough evaporator coil cleaning to a licensed HVAC technician. High-voltage components are nearby, and if the system is under warranty, DIY maintenance can void that coverage. This is one spot where calling Home Worx Heating and Cooling makes obvious sense.
6. Household Dish Soap and Warm Water Solution
For a budget-friendly option with light coil grime, a small amount of mild dish soap mixed with warm water works as a gentle cleaner. This is best suited for outdoor condenser coils where you have room to rinse thoroughly , not for indoor evaporator coils where leaving soap residue can cause problems.
Mix a few drops of dish soap into a spray bottle of warm water. Spray the solution onto the fins, let it sit for a minute or two, then rinse with your garden hose on a low-pressure setting. The surfactant in dish soap loosens dust and light oily deposits in the same way it cuts grease on dishes.
The honest caveat: dish soap isn't formulated for HVAC aluminum. It works in a pinch, but repeated use without thorough rinsing can leave residue that attracts more dust. Standard household cleaners can also cause corrosion over time if they contain harsh additives. This method is fine as a one-time solution when you're out of dedicated coil cleaner, not as a regular go-to.
Avoid bleach, ammonia-based cleaners, or anything acidic. Those chemicals damage the aluminum fins and can corrode the copper tubing that runs through the coil. When in doubt, a purpose-built coil cleaner is safer for the long life of your system.
If an AC unit that's been cleaned this way then starts short cycling, that's worth investigating separately. Understanding how to prevent air conditioner short cycling can help you rule out whether a coil issue is contributing to the problem.
7. Eco-Friendly Biodegradable Coil Cleaner
If you want to avoid harsh chemical runoff , especially near garden beds or a well , a biodegradable, non-toxic coil cleaner is a solid option. Products in this category use plant-derived surfactants instead of industrial solvents, so the rinse water is far less harmful to soil and landscaping.
Eco-friendly foaming coil cleaners in this category are typically listed as non-toxic and self-rinsing, and some include scents that help address musty odors that develop when mold or bacteria grow on coil surfaces. They are designed for home and commercial HVAC coils, including mini-splits and window units, not just central condenser coils.
Self-rinsing formulas are worth noting specifically: they're designed to activate with the condensate moisture the coil produces during normal operation, which means you apply them and the unit itself carries the residue away as it runs. That's convenient for indoor evaporator coils where rinsing by hand is awkward. Always read the product label to confirm your unit type is covered.
Key Takeaway:Eco-friendly coil cleaners are a good fit when you want to avoid harsh chemical runoff near landscaping, pets, or water sources , but check whether the formula is truly self-rinsing or requires a manual rinse step before applying indoors.
The trade-off compared to commercial-strength cleaners is cleaning power on heavy buildup. If the system hasn't been serviced in a couple of years, a stronger solution or professional cleaning will likely be more effective. For regular semi-annual maintenance, a biodegradable product is plenty.
8. Trash-Bag Catch Basin Method for Indoor Units
Cleaning indoor evaporator coils creates a mess problem that outdoor condenser cleaning doesn't: the rinse water has to go somewhere, and your furnace cabinet sits directly above flooring, ductwork, and electrical components.
The trash-bag catch basin method solves this. Before applying any cleaner or water, line the drain pan below the evaporator coil with a heavy-duty trash bag or drape one around the base of the coil housing. This catches overspray and runoff, keeping it from dripping into the cabinet or onto the floor.
Some technicians duct-tape the bag to the coil housing edges for a tighter seal. You can also position a second bag or a shallow plastic tub below the condensate drain outlet to catch any solution that exits through the drain line. The goal is full containment so you can control where the liquid goes.
This technique is especially useful when applying a self-rinsing spray cleaner to an evaporator coil that's been neglected for a while. The first activation can release a significant amount of dissolved debris. Containing it protects your equipment room from water damage and mold.
After the cleaning is done, remove the bag carefully, tie it off, and dispose of it. Check the drain pan for standing water and wipe it dry before reassembling the access panel. Never restore power until you're certain no moisture is sitting on electrical components.
9. Mini-Split and Single-Wall Unit Coil Cleaning
Mini-splits and single-wall (also called through-wall) air conditioners have coil access points that are different from a central system. The indoor evaporator on a mini-split is behind a front panel that lifts or clips off, exposing the coil and the filter directly. Most homeowners can handle basic cleaning here without opening the outdoor unit at all.
Start by turning off the unit at the remote and at the breaker. Remove the front panel , most mini-split brands use clips or tabs along the bottom edge. Inside you'll find the filter (wash it with warm water and let it dry completely) and the evaporator coil. The coil on a mini-split is curved and compact, which makes it harder to reach at the back.
A foaming coil cleaner works well here. Spray along the face of the coil, let it dwell, and let the condensate drain carry it away , most mini-split coil cleaners are self-rinsing for exactly this reason. You can also use a specialized mini-split cleaning kit, which includes a plastic drip tray that hooks over the indoor unit to catch runoff without making a mess on the wall below.
For the outdoor mini-split condenser, the garden hose rinse method from section 3 applies. Single-wall outdoor units are also fair game for a gentle hose rinse, provided you cover the electrical panel area with plastic before spraying.
The fins on mini-split evaporators are often tighter-spaced than central systems, which means they clog faster in dusty environments. If you live in Placer or Nevada County where wildfire smoke is seasonal, cleaning your mini-split coil at least twice a year is worth the effort. Running the unit with a dirty coil forces it to work harder, which shortens the compressor's life and raises your electric bill. Staying current with routine HVAC system service is the simplest way to avoid that outcome.
10. Post-Cleaning Inspection and Troubleshooting Checklist
Cleaning the coils is only half the job. What you do in the ten minutes after matters almost as much as the cleaning itself.
Run through this checklist before you restore power:
- Check the fins:Look for sections where fins are bent flat. A fin comb (a cheap plastic tool available at HVAC supply stores) can straighten them. Bent fins restrict airflow the same way a dirty coil does.
- Clear the drain holes:Confirm the base drain ports are open and unblocked. Standing water in the pan breeds mold fast.
- Inspect for visible mold or musty smell:If you spot dark spots on the coil or drain pan, or the air smells damp after the unit runs, that's a sign of mold that needs targeted treatment , not just a rinse.
- Check for bent or pinched refrigerant lines:Look at the copper lines running to the coil. They should be straight and unkinked. A pinch in the line affects refrigerant flow and will cause the system to underperform regardless of how clean the coil is.
- Wait before powering on:Give the coil at least 30 to 60 minutes to dry before flipping the breaker. If you cleaned with a wet method, longer is better.
After the system runs for 10 to 15 minutes, check the air coming from your vents. It should feel noticeably cooler than before the cleaning if buildup was significant. Listen for unusual noises , a rattling sound can mean debris got into the fan blades, and a hissing sound near the indoor unit might indicate a refrigerant issue that needs a licensed technician.
If the system is still running long cycles or not reaching the set temperature after a thorough cleaning, the coil itself may not be the only issue. Refrigerant charge, ductwork leaks, and filter condition all affect performance. That's when a diagnostic visit from Home Worx Heating and Cooling makes sense , we can read the system's actual operating pressures and tell you exactly what's happening.
Homeowners who want to build this into a broader habit will find the summer HVAC maintenance checklist a useful companion , it covers filter changes, condensate drain flushing, and thermostat checks alongside coil care.
Frequently Asked Questions
How often should I clean my AC coils?
Clean your AC coils at least once a year, ideally in spring before the cooling season. If your home has pets, sits near trees, or you've had wildfire smoke in the area, twice a year is better. Most HVAC guides that mention a cleaning schedule recommend a semi-annual cadence. A dirty filter accelerates coil buildup, so changing filters every one to three months also reduces how often deep coil cleaning is needed.
Can I clean my AC coils myself?
Yes, for outdoor condenser coils. A garden hose rinse or foaming spray cleaner is something most homeowners can handle safely. Indoor evaporator coils are trickier , they're near high-voltage components, and improper cleaning can void your system's warranty. If you're unsure about your unit type or the coil's condition, a professional cleaning from a licensed HVAC tech is the safer call and often not much more expensive than the products alone.
What should I never use to clean AC coils?
Never use a pressure washer , it bends the thin aluminum fins and permanently restricts airflow. Avoid bleach, ammonia, and acidic cleaners, which corrode the metal. Wire brushes and steel wool scratch the coil surface and cause long-term damage. Dish soap is acceptable in a pinch for outdoor coils but shouldn't be your regular choice. Always use a coil cleaner specifically designed for HVAC aluminum.
Will cleaning my coils actually lower my electric bill?
Yes, it can. Dirty coils act as insulation, blocking heat transfer and forcing the compressor to run longer to reach the set temperature. A clean coil allows the system to exchange heat efficiently, which reduces run time. The savings vary based on how dirty the coil was and how often the system runs, but the principle is consistent: better heat transfer means less energy consumed per cooling cycle.
How long after cleaning can I turn my AC back on?
Wait at least 30 to 60 minutes after wet cleaning before restoring power. This gives the coil and surrounding components time to dry. If you used a heavy spray application or did a thorough rinse, waiting a full hour is a safe call. Running the system with moisture on electrical parts risks a short circuit. A no-rinse self-rinsing cleaner can shorten this wait, but always read the product label.
What are the signs my coils need cleaning?
Watch for reduced airflow from your vents, the system blowing air that isn't as cold as it used to be, longer run cycles to reach the set temperature, or a spike in your utility bill. Visible dirt on the fins, musty odors from vents, or the indoor unit freezing over are also clear signs. Any of these symptoms means it's time to check the coil , or call a technician to do it properly.
Conclusion
For most homeowners, a foaming spray or garden hose rinse once or twice a year keeps condenser coils in good shape. But if you haven't touched your coils in years, you have a dual-row unit, or your system still underperforms after a DIY clean, a professional inspection is the right next step. Home Worx Heating and Cooling offers 29 years of experience, next-day service, and financing , reach out through our website to schedule a tune-up before the heat hits its peak.