
How to Clean an Outdoor AC Unit Safely
A dirty outdoor air-conditioning system can make your air conditioner work harder, but rushing the cleanup can damage its fins or expose you to live power. The safest method starts with power verification, then moves through dry debris removal, gentle coil cleaning, fin checks, and a full dry-out. These steps work for many homes in the Sierra foothills, where hot, dry summers load outdoor units with dust and grass clippings. For homeowners in Auburn, Colfax, Rocklin, Roseville, Grass Valley, Penn Valley, and Lincoln, contact Home Worx Heating and Cooling for local service.
Table of Contents
Step 1: Turn Off Power and Gather Safe Cleaning Tools
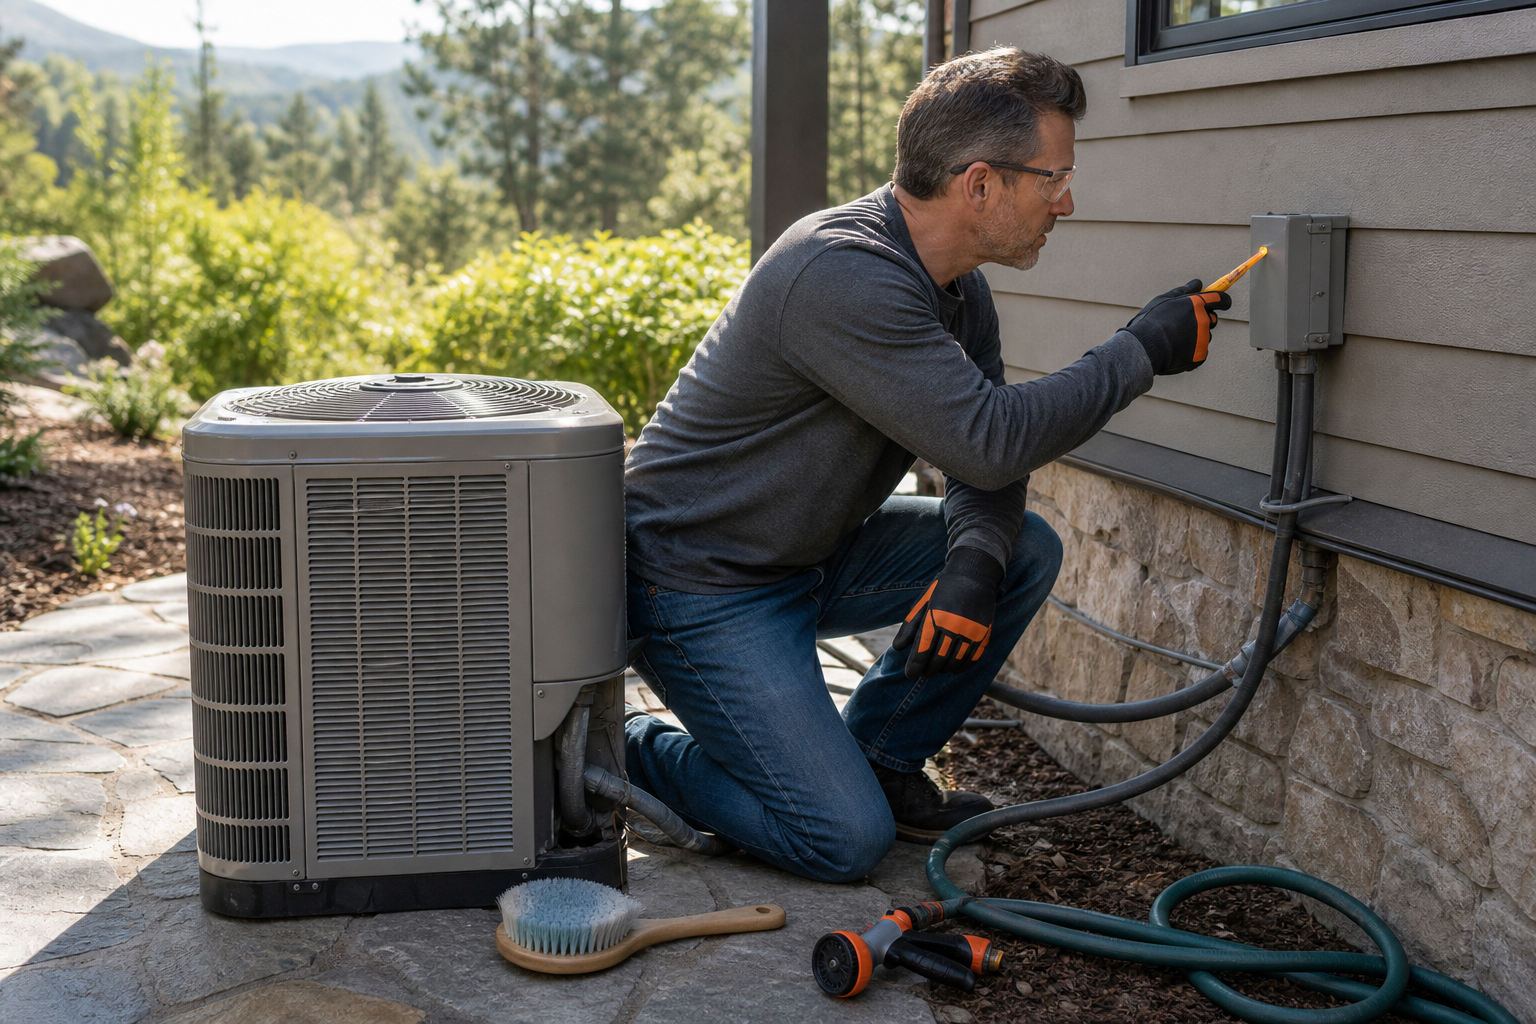
The first goal is simple: make sure the unit cannot start while your hands are near it. Set the thermostat to off, then find the outdoor disconnect box or the dedicated breaker in your main panel.
Switch off the disconnect or breaker. Do not rely on the thermostat alone. A thermostat can stop a cooling call while the outdoor cabinet still has power. A non-contact voltage tester rated for the system voltage adds one more check before you touch the cabinet or remove a panel.
That check is easy to skip. It is also the step that matters most. Power shutoff and verification are essential safety steps. Confirm that the unit is de-energized before cleaning.
Gather these items before you start:
Safety glasses
A flashlight
A soft-bristle brush
A garden hose with a standard spray nozzle
A microfiber cloth
A fin comb that matches the spacing of your fins
Mild detergent and water
Use only tools that let you work gently. Skip abrasive tools, high-pressure air, bleach, vinegar, oven cleaner, and any harsh product that is not made for HVAC coils. The basic air-conditioning cycle depends on heat moving through the coil , so bent fins or damaged coil surfaces can hurt the system even after the cabinet looks clean.
Before spraying, close the electrical panel cover. Do not open the control box unless you are trained to work around HVAC wiring. If you see exposed wires, heavy rust, a damaged disconnect, or a wasp nest near the cabinet, stop and arrange service.
Homeowners in Auburn and Colfax often see a mix of dry leaves, pollen, and fine dust around the unit. In Rocklin, new landscaping can also crowd a unit faster than expected. Roseville and Grass Valley homeowners should also check for debris buildup during hot, dry summers.
In Penn Valley and Lincoln, keep the area around the unit clear before beginning. Start with safety, and the rest of the job becomes much easier to control in these Northern California Sierra foothill communities. For local help, contact Home Worx Heating and Cooling.
Step 2: Remove Leaves, Dust, and Debris From the Outdoor Equipment
Now clear the outdoor equipment before adding water. Dry removal keeps loose dirt from turning into mud inside the coil.
Walk all the way around the cabinet. Look at the side facing the house, because that rear coil is easy to miss. Pick out leaves, twigs, seed pods, and grass by hand. Keep your fingers away from the fin edges, which can be sharp.
Use the soft brush with light strokes that follow the fin channels. For loose dust, continue with light brushing and keep the tool just above the fins. Pressing it into the coil can flatten the aluminum strips.
Do not remove the top grille unless your equipment manual allows it and you can do so safely. The fan may look still while stored electrical energy or another power source remains. Basic exterior cleaning does not require access to the compressor, capacitor, or control wiring.
Check the base of the cabinet as well. Clear mud from visible drain openings without poking deep into the unit. Standing water, chewed insulation, or a strong burnt smell points to a problem beyond surface dirt.
Next, inspect the coil face with a flashlight. Light should pass through many open sections. A thin layer of dust can usually wait for a gentle rinse. Thick, matted buildup may need coil cleaner. If the fins are packed solid or coated with oily grime, do not scrape them with a knife or screwdriver.
During this stage, keep debris from falling back into the cabinet. Work from the top down when brushing the outside. If you can safely view the inner coil surface, use the clean side as your guide and push dirt outward rather than deeper into the coil.
For related preparation guidance, see this maintenance checklist . A clear space around the equipment helps keep the air path open.
Leave at least 24 inches of open space around the cabinet unless the manufacturer specifies more. Keep branches away from the top discharge area. Trim plants rather than building a tight screen around the unit.
Roseville and Lincoln yards can collect dry plant waste during the cooling season. Auburn, Colfax, Rocklin, Grass Valley, and Penn Valley yards can as well. A quick walk-around after pruning or a windy day can prevent that waste from being pulled into the coil. Once the loose debris is gone, you can decide if water alone will do the job.
Step 3: Apply Coil Cleaner and Rinse With Low Pressure
This is the wet part of learning how to clean an outdoor AC unit. Use the least force that removes the dirt.
If the coil only has light dust, skip chemical cleaner and use clean water. If oily, sticky, or discolored residue remains after rinsing, apply a pH-neutral coil cleaner. Read the product label first. Some cleaners are self-rinsing. Others require a rinse.
Apply the cleaner in a light coat from the bottom of the coil upward. Give it five to seven minutes of dwell time. Do not let it dry on the metal.
Never mix cleaners. Do not substitute bleach, oven cleaner, or a strong household degreaser. Those products can damage aluminum and nearby surfaces. If you are unsure about the coil coating or cleaner, water is the safer choice.
Use a garden hose with a standard spray nozzle. Keep the nozzle about 12 to 18 inches from the fins. A pressure washer is out. High pressure can fold the fins flat and force dirt farther into the coil.
Spray from the top down in overlapping passes. A slight downward angle helps dirty water move toward the base. Avoid spraying upward into the fan shroud or directly at the control box cover. Improve your time on the back side, since it often holds more dirt than the visible front.
Some technicians rinse from the inside outward when they can safely reach the inner coil surface. For a homeowner, do not remove panels simply to copy that angle. Follow the equipment manual and keep water away from electrical parts.
Watch the runoff. At first, it may look gray or brown. Continue with gentle passes until the water runs clearer and the coil face looks open. Do not keep spraying just to make the cabinet spotless. Excess water can enter places it should not.
Use a microfiber cloth to wipe water from the fan shroud and the outside of the control box cover. Do not push the cloth between the fins. Let the cabinet drain while you move to the next inspection.
Pro Tip:If the cleaner dries before you rinse it, do not add more chemical. Re-wet the surface with water, then follow the label instructions.
Home Worx Heating and Cooling can handle this stage when the coil is heavily soiled or the unit has not been cleaned in years. A professional visit also gives the team a chance to spot corrosion, refrigerant concerns, or electrical damage that a rinse cannot fix. Contact Home Worx Heating and Cooling for local service in Auburn, Colfax, Rocklin, Roseville, Grass Valley, Penn Valley, or Lincoln.
Step 4: Straighten Bent Fins and Restore Airflow Clearance
After rinsing, inspect the fins and the space around the cabinet. Air needs a clear path through the coil and out of the top.
Fins are thin aluminum strips attached to the coil. They spread the coil surface across a larger area so outdoor air can carry heat away. When dirt blocks them, or when they are crushed flat, airflow drops.
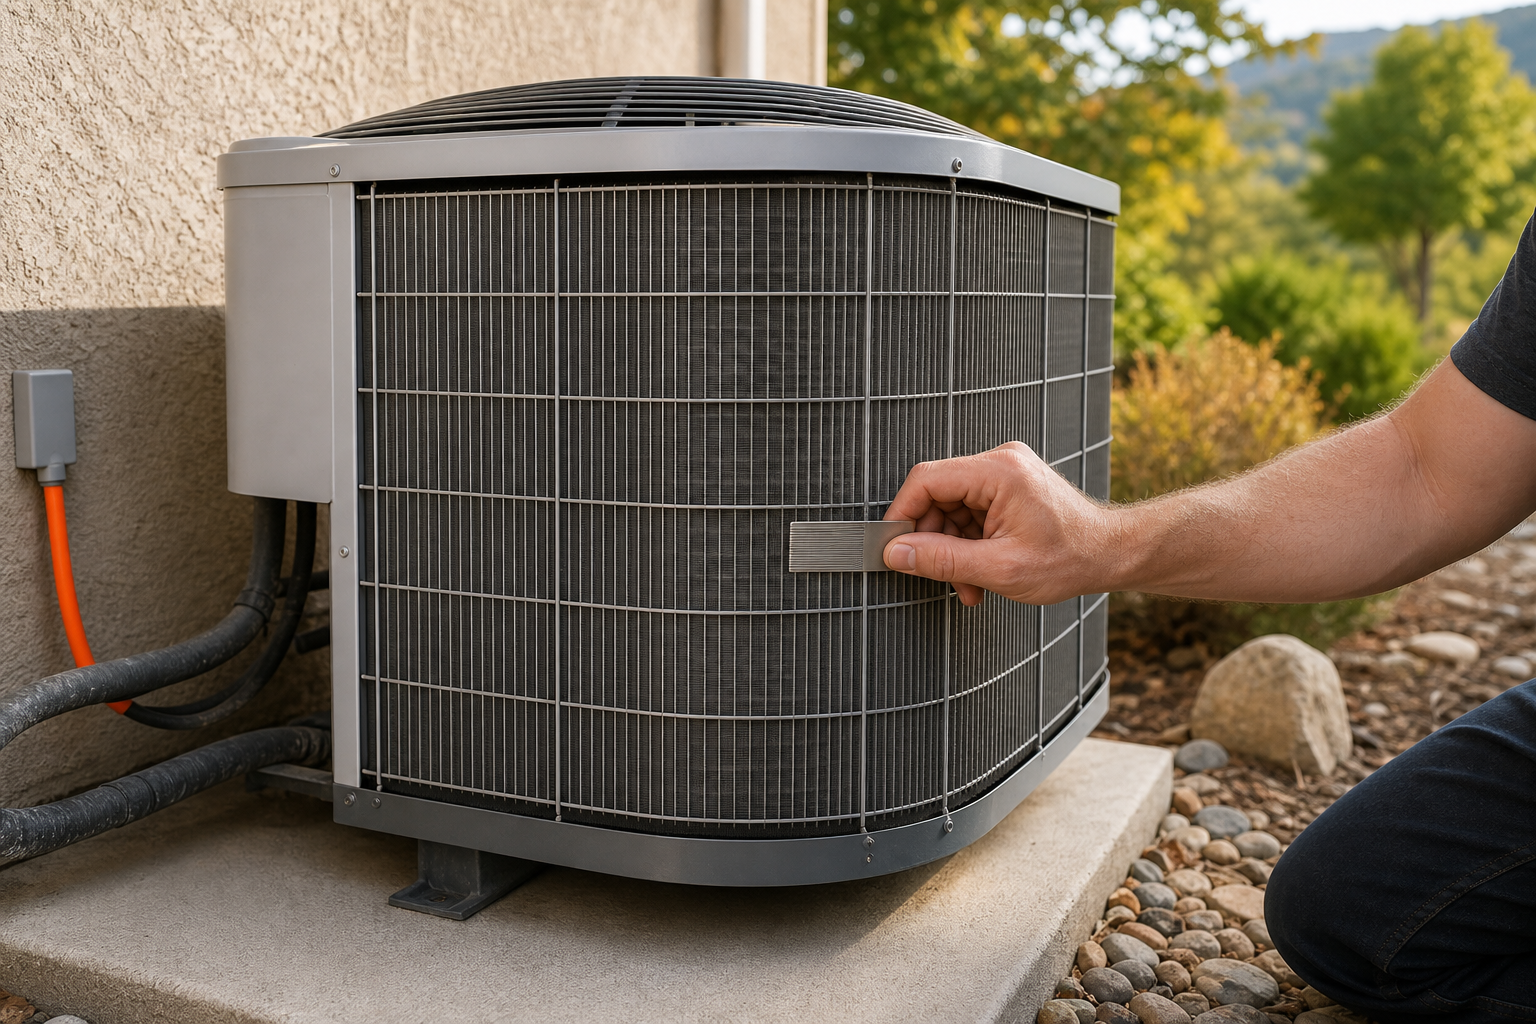
Use a flashlight to find sections that are bent. A fin comb can straighten light damage when its teeth match the fin spacing. Work slowly in the direction of the existing channels. Never force the comb through a tightly crushed section. If a small area is folded over, gently lift it with needle-nose pliers before using the comb.
Stop if the fins tear, the coil tubing moves, or corrosion flakes off. A comb is for light surface repair. It cannot fix a punctured coil or a refrigerant leak.
Keep at least 24 inches open on all sides as a working rule. The equipment manual wins if it calls for more. Leave the top open as well, since the fan sends hot air upward.
Trim grass and shrubs outside that clearance zone. Do not pile mulch against the cabinet. Move patio items away before the cooling season starts. A screen may be fine if it allows airflow and leaves room for service, but a solid box around the unit is a bad setup.
Check the pad under the unit. It should look stable rather than badly tilted or sunken. Also check that a downspout or sprinkler does not soak the cabinet each day. Repeated moisture can speed rust and carry soil onto the fins.
Grass Valley and Penn Valley homes may face extra dust during dry weather, while nearby trees can drop fine debris into the coil. Homeowners in Auburn, Colfax, Rocklin, Roseville, and Lincoln can use the same clearance checks. Check the rear side before you finish. If the unit still has poor airflow after cleaning and clearance work, the cause may be a weak fan, a blocked indoor filter, low refrigerant, or another fault. Contact Home Worx Heating and Cooling for local service.
Step 5: Restart, Inspect, and Set a Seasonal Cleaning Schedule
Do not restart the system as soon as the hose is put away. The unit needs time to drain and dry.
Wait at least 30 to 60 minutes after wet cleaning. Longer is fine in a cool or damp morning. Before restoring power, check these points:
The fins are open and free of loose debris.
The control box cover is closed.
The fan shroud has no standing water.
The area around the cabinet is clear.
No wires, refrigerant lines, or panels look damaged.
Restore power at the disconnect or breaker. Set the thermostat to cooling and lower the setting enough to start a cycle. Stay near the outdoor unit for the first few minutes.
A normal startup should not include loud grinding, hard banging, repeated clicking, or strong vibration. Listen for the fan and compressor. Check that warm air leaves the top of the cabinet. If the breaker trips, ice forms on the lines, or the fan does not start, shut the system off and arrange HVAC service.
For most homes, clean the outdoor equipment in early spring before steady cooling begins, then check it again in early fall. A third cleaning may make sense near heavy tree cover, dusty roads, or areas affected by wildfire ash. Clean in the morning when outdoor temperatures are below 85 degrees if possible.
Do not clean during winter just because the calendar says it is time. In cold weather, focus on clearing leaves and keeping the cabinet open. A tight cover can trap moisture.
In a hot, dry summer, cleaning alone may not solve weak cooling. Home Worx Heating and Cooling serves homeowners across the foothill area, including Auburn, Colfax, Rocklin, Roseville, Grass Valley, Penn Valley, and Lincoln. The team can inspect the full system when the symptoms remain after basic cleaning.
Key Takeaway:Restore power only after the unit is dry, then treat unusual sounds, frozen lines, and repeat breaker trips as service warnings.
FAQ: Outdoor AC Unit Cleaning Questions
Can I clean my outdoor equipment myself?
Yes, you can handle light debris removal and a gentle hose rinse if you can safely shut off and verify power. Use a soft brush and low water pressure. Stop if you find exposed wiring, heavy corrosion, damaged coil tubing, refrigerant concerns, or a cabinet you cannot safely access.
What is the safest way to rinse outdoor cooling equipment?
The safest rinse uses a garden hose with a standard spray nozzle. Keep the nozzle away from the fins and spray downward in overlapping passes. Never use a pressure washer. High pressure can bend the aluminum fins and push dirt deeper into the coil.
How often should I clean my outdoor equipment?
Clean the outdoor equipment at least twice a year, once in early spring and again in early fall. Add another check in a dusty yard or near heavy trees. You can inspect the equipment more often without washing it. Clear leaves after storms, trimming, or strong wind. This schedule can help homeowners in Auburn, Colfax, Rocklin, and Roseville keep outdoor equipment clear.
How long should I wait before turning on AC after cleaning?
Wait at least 30 to 60 minutes after a wet cleaning before restoring power. The exact wait depends on the weather and how much water entered the coil area. Confirm that the cabinet, fan shroud, and nearby covers look dry before starting the system.
What should I do if my AC still is not cooling after cleaning?
Turn the system off if it still struggles after cleaning. Poor cooling can come from low refrigerant, a weak capacitor, a bad fan motor, restricted indoor airflow, or an electrical fault. Cleaning cannot diagnose or repair those issues. Home Worx Heating and Cooling can inspect the system for homeowners in Grass Valley, Penn Valley, and Lincoln, as well as the surrounding Northern California service area. Contact Home Worx Heating and Cooling for local service.
Conclusion: Clean Carefully or Call Home Worx Heating and Cooling
Use a verified power shutoff, soft tools, low water pressure, and a full dry-out when you clean the condenser yourself. If the coil is badly packed, the fins are damaged, or the system still runs poorly, contact Home Worx Heating and Cooling for local help in Auburn, Colfax, Rocklin, Roseville, Grass Valley, Penn Valley, or Lincoln.