
Cleaning AC Coils DIY: Step-by-Step Guide
Dirty AC coils can leave you with weak airflow, warm rooms, and a system that runs too long. Cleaning AC coils DIY can work when the dirt is light and the coil is easy to reach. Use the steps below for a safer job, then stop when the risks move beyond dust and leaves.
That matters in Auburn, Colfax, Rocklin, Roseville, Grass Valley, Penn Valley, and Lincoln, where hot, dry summers push cooling systems hard.
Table of Contents
Step 1: Turn Off Power and Gather Safe Cleaning Supplies
Safe cleaning AC coils DIY starts with cutting power, not with a spray bottle. Turn the thermostat to Off. Then switch off the HVAC breaker at the main electrical panel.
For an outdoor condenser, also check the disconnect box near the unit. Do not trust the thermostat alone. The fan must be still before you remove a panel.
Wait at least 10 minutes before touching the inside of an access panel. Some electrical parts can hold a charge after power is off. If you aren't sure which breaker controls the system, stop and ask a licensed HVAC technician to identify it.
Set out these supplies before you begin:
Screwdriver or nut driver
Safety glasses and chemical-resistant gloves
Soft-bristle brush
Shop vacuum with a brush attachment
Fin comb
Garden hose with a gentle spray setting
Clean rags and a flashlight
HVAC coil cleaner made for your coil type
Choose a non-acidic product unless the equipment maker says otherwise. Acidic or harsh household products may harm aluminum surfaces. The basic properties of aluminum help explain why thin coil fins need gentle handling.
For light dust, water may be enough. Chemical cleaner is more useful when pollen, grease, or stuck grime remains after dry cleaning. Never mix two cleaners. A mixture can create fumes or leave sludge on the fins.
Pro Tip:Put your screws in a cup as you remove them. Small fasteners are easy to lose near an outdoor unit or attic air handler.
If you see ice, damaged wiring, a refrigerant stain, or a sealed coil that you can't reach safely, don't open the system further.
Step 2: Locate the Coil and Remove Loose Dirt Carefully
Cleaning AC coils DIY is easier when you first identify which coil you have. The evaporator coil sits inside the indoor air handler. The condenser coil wraps around the outdoor unit. This guidance applies to homes in Auburn, Colfax, Rocklin, Roseville, Grass Valley, Penn Valley, and Lincoln.
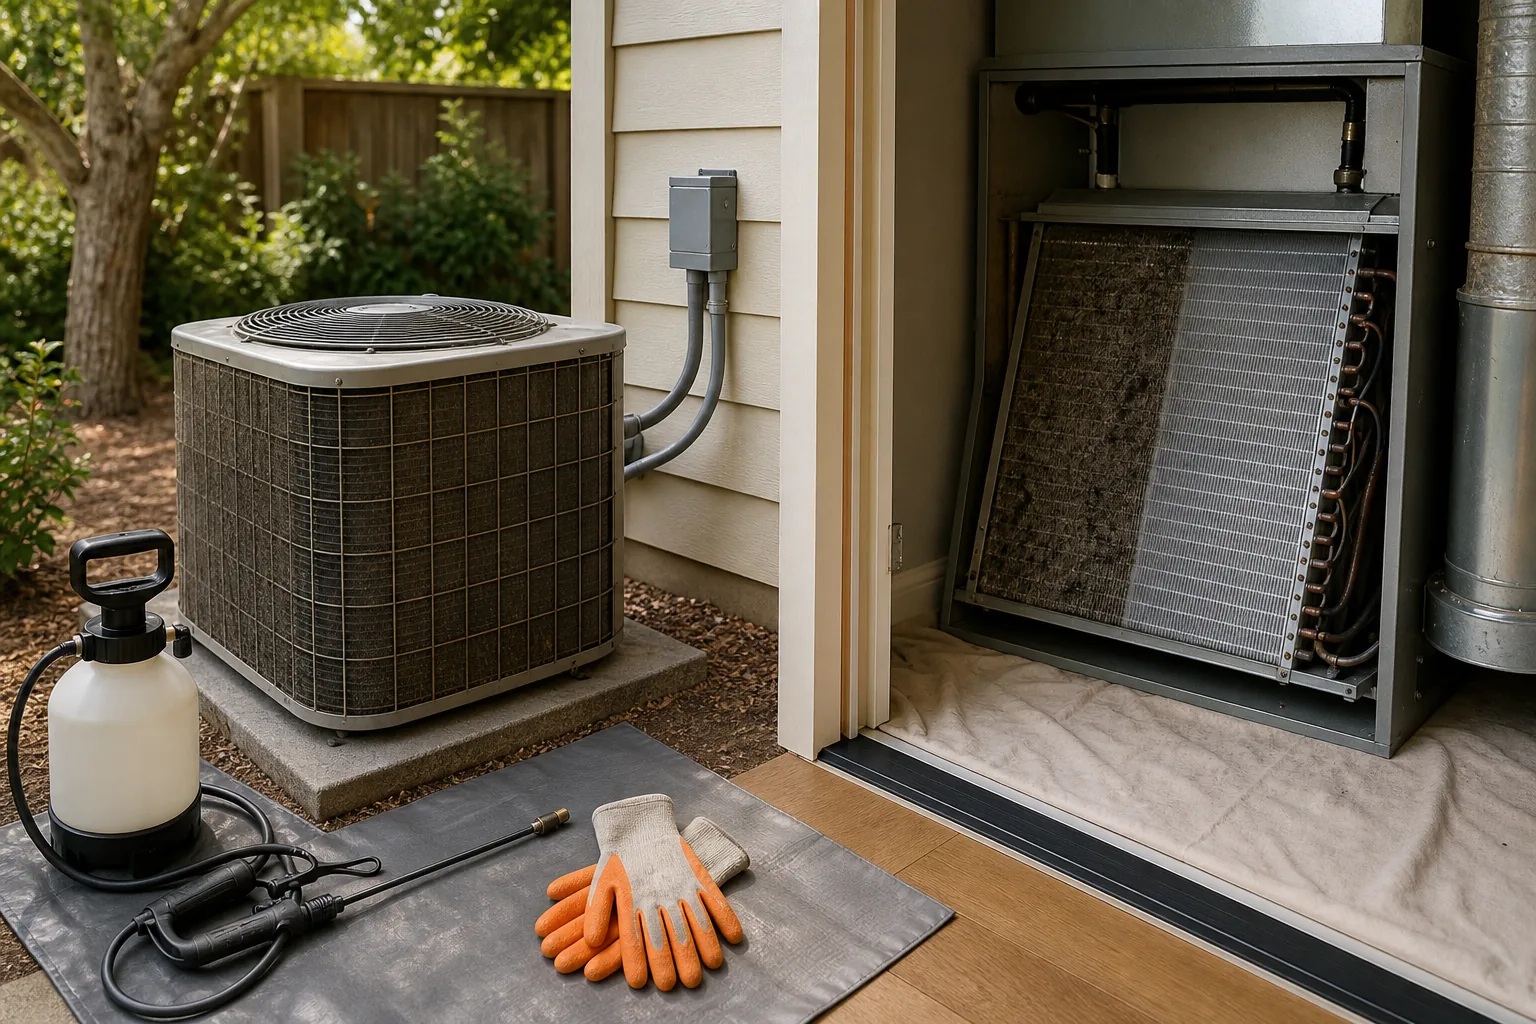
Indoor air handlers are often in an attic, basement, garage, or closet. The coil may look like an A shape behind a removable panel. Place a plastic sheet below the work area. Keep a shallow pan nearby in case water reaches the drain pan.
Outdoor coils sit behind the cabinet grille. Remove only the panel your unit allows you to remove. On many condensers, the fan is attached to the top grille. Lift it with care, and never pull on its wires.
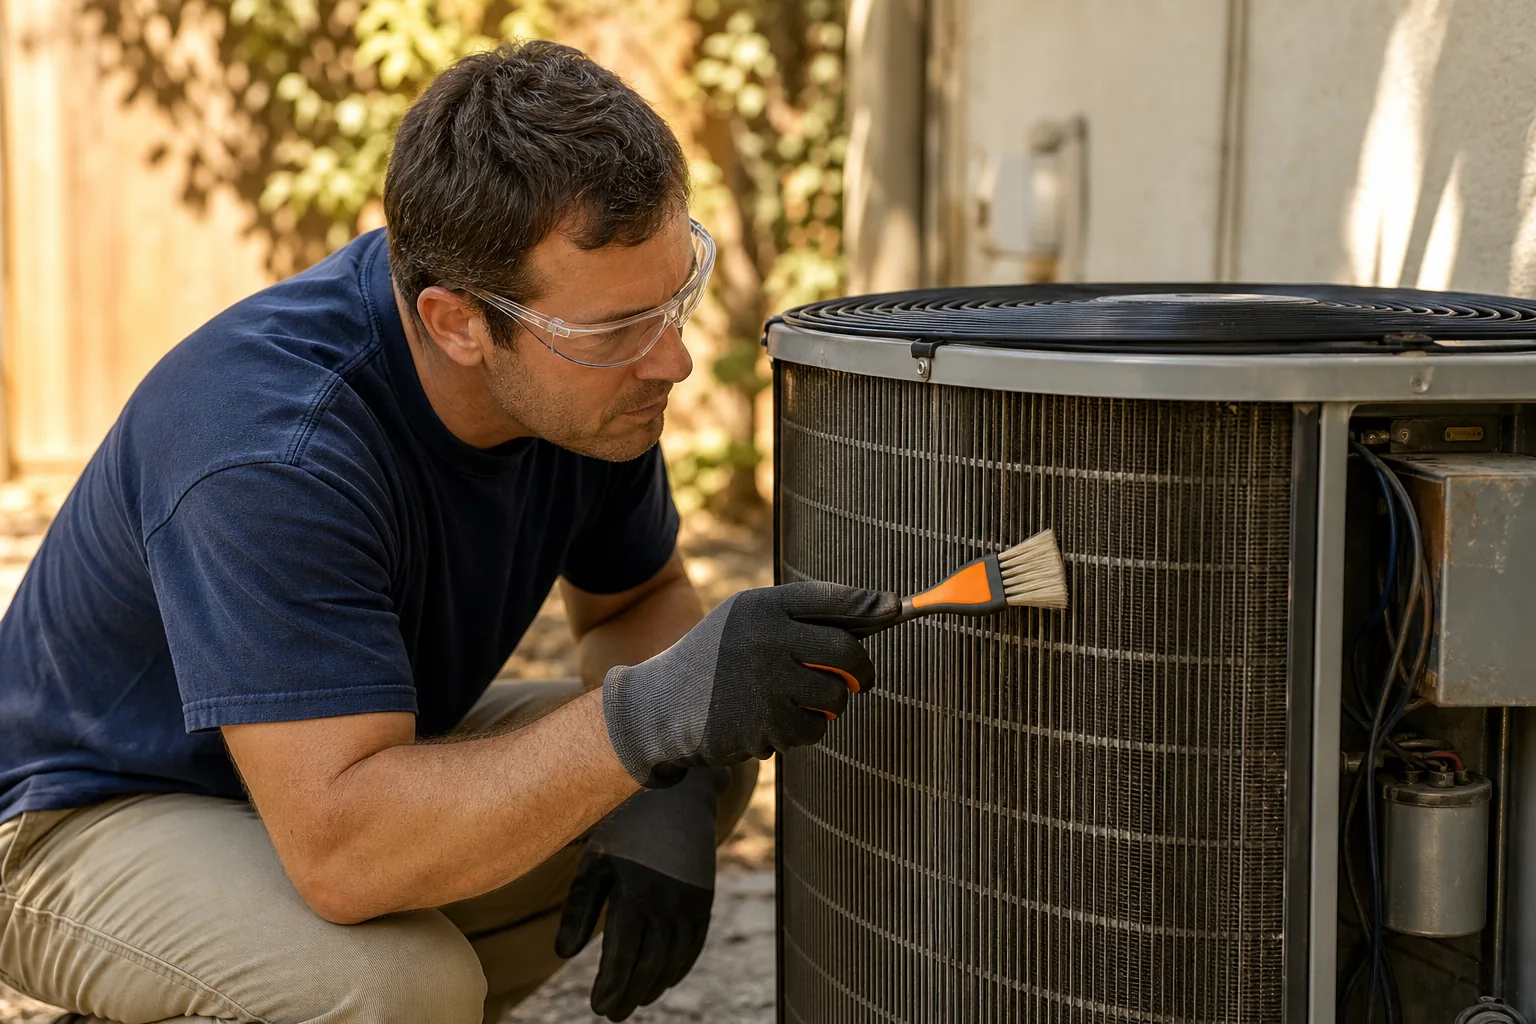
Start with dry debris. Pick out leaves and twigs by hand while wearing gloves. Then use a shop vacuum or soft brush. Move the brush in the direction of the fins. Most fins run up and down, but check before you begin.
Don't use a wire brush. Don't scrub sideways. The fins bend with little force, and crushed fins block the air path needed for heat transfer. A fin comb can help with small bent spots, but it won't fix a badly crushed coil.
For an indoor coil, keep the vacuum nozzle just above the metal. Never press it into the fins. Check the condensate pan below the coil. If it has standing water, sludge, or algae, stop and clear the drain issue before rinsing.
Home Worx Heating and Cooling recommends treating access as a safety limit. If the top fan assembly makes the outdoor cabinet hard to open, or the indoor coil is buried behind wiring, professional help is the better choice.
Before rinsing, check the power , brush gently, and use low-pressure water.
Key Takeaway:Remove loose dirt while the coil is dry. Water and cleaner come later, after you know the drain path is open.
For local AC coil cleaning help, contact Home Worx Heating and Cooling.
Step 3: Apply Coil Cleaner and Rinse Without Causing Damage
Apply cleaner only after dry dirt is gone. Read the product label first, because dwell time and rinsing rules vary.
For an outdoor condenser, spray a light coat across the coil surface. Cover one side at a time. Let the foam sit for the listed time. Don't let it dry on the metal. This is especially useful during hot, dry summers in Auburn and Colfax.
Rinse with a garden hose on a fan or shower setting. If you can safely reach the inside of the cabinet, rinse from the inside outward. This pushes loosened dirt out through the fins instead of packing it deeper.
Work from the top down. Keep water away from the control box, disconnect, and exposed wiring. Never use a pressure washer. Its force can flatten the fins in seconds. Homeowners in Rocklin and Roseville should use the same gentle approach.
Indoor evaporator coils need more care. Use a product labeled for indoor HVAC coils, often a no-rinse foam. Protect the blower and control board with plastic. Apply short passes from the top down, then let the foam drain into the condensate pan.
If the label calls for rinsing, use a spray bottle rather than a hose. Check the pan as water collects. If the level rises instead of draining, stop. A blocked drain can send water into the air handler or ceiling. This matters in Grass Valley and Penn Valley homes, where cold winters can make indoor moisture problems more noticeable.
The evaporator coil cools air inside the home while the condenser coil releases heat outside. Together, they work as part of a heat exchanger system . Dirt on the fins gets in the way of that heat transfer. In Lincoln, as elsewhere in the area, follow the product directions carefully.
Light dust may need only water. Grease near a kitchen or sticky pollen may need foam. Bleach, oven cleaner, ammonia, and strong acid products don't belong on residential coils.
For an indoor coil, allow the unit to dry before replacing the access panel. A wet control area is a repair risk. If cleaner splashes into wiring, leave power off and arrange service. For local help in Auburn, Colfax, Rocklin, Roseville, Grass Valley, Penn Valley, or Lincoln, contact Home Worx Heating and Cooling.
Step 4: Straighten Fins, Reassemble the Unit, and Test Cooling
Before you close the cabinet, inspect the fins and confirm that water has drained. This final part of cleaning AC coils DIY prevents a small cleaning job from becoming a no-cooling call.
Use a fin comb only on small bent areas. Match the comb teeth to the fin spacing. Pull it gently through the damaged section. Don't force it. If the metal tears or the fins stay flat, leave the area alone.
Check the outdoor cabinet from every side. Clear mud from the small drain openings at the base. Leave space around the unit so air can move freely. Grass, mulch, and stored items can choke airflow even after the fins are clean.
For an indoor unit, check the filter. A damp or collapsed filter can restrict airflow and lead to icing. Make sure the drain pan is stable. Look for water near the cabinet floor.
Replace the access panel and top grille. Support any fan assembly while you fit it back into place. Make sure no wire is pinched. Tighten each screw without stripping the sheet metal.
Wait at least 30 to 60 minutes after wet cleaning. Longer is better in a cool attic or on a damp morning. Then restore power at the disconnect and breaker. Set the thermostat to Cool, with the target temperature below the room temperature.
Give the system several minutes to start. The outdoor fan should spin freely. Warm air should leave the top of the condenser. Inside, the supply air should feel cooler after the system runs for a while.
If the system hums but the fan doesn't run, shut it off. Burning smells, buzzing, melted wire jackets, or repeated breaker trips also mean stop now. These signs point to electrical trouble, not a dirty coil.
If the AC runs but cooling fades, check for a wet sensor, poor airflow, a tripped float switch, or ice. Don't keep restarting a frozen system. Home Worx Heating and Cooling can check the cause across Placer and Nevada County when the simple fix isn't enough.
Step 5: Choose the Right Cleaner and Know When DIY Should Stop
The right cleaner for cleaning AC coils DIY depends on coil material, dirt type, access, and whether you can rinse safely. A cheap can is not cheap if it damages a coil or floods an attic.
Situation | Safer first choice | What to watch |
Light outdoor dust | Water with low pressure | Rinse outward when possible |
Light indoor dust | Soft brush or gentle vacuum | Keep the control area dry |
Moderate indoor grime | Indoor-rated no-rinse foam | Check the drain pan as it works |
Grease or heavy outdoor buildup | Product labeled for that coil | Wear eye and skin protection |
Micro-channel or coated coil | Manufacturer guidance or a technician | Some cleaners can damage the surface |
Ice, mold, leak, or wiring fault | Licensed HVAC service | Stop the DIY job |
Some reviewed cleaners have narrow use cases. Nu-Calgon Evap Foam is a self-rinsing foam, but it needs ventilation and a clear drain pan. Leak Saver Foam Blaster uses a strong spray and calls for gloves, eye protection, and respiratory protection. Overspray can harm nearby surfaces.
ComStar Coil Safe is a pH-neutral option with a non-toxic formulation, but it still needs ventilation and correct dilution. Simple Green in a gallon jug requires a 1:2 mix with water. Quality Chemical Nu-Coil and other aggressive alkaline products are better suited to trained users and heavy buildup.
DIY should stop when you see any of these signs:
Ice on the coil or refrigerant line
Heavy mold or a strong musty smell
Oil marks near copper tubing
Damaged fins across a large area
Corrosion, exposed wiring, or a cracked drain pan
A coil inside a sealed compartment
Water that won't drain from the indoor pan
A professional visit also makes sense when the system still blows warm air after cleaning. The cause may be refrigerant charge, electrical parts, airflow, or a failing compressor. Cleaning the visible dirt won't fix those faults.
Home Worx Heating and Cooling is the local option we recommend when the risk rises. The family-owned team serves Auburn, Colfax, Rocklin, Roseville, Grass Valley, Penn Valley, and Lincoln, with emergency repair support and financing options. That can matter when a coil problem shows up during a hot Sierra foothill afternoon. Contact Home Worx Heating and Cooling for local service.
Key Takeaway:Use water for light dust, use a labeled HVAC cleaner for suitable buildup, and hand off sealed or damaged systems to a qualified pro.
FAQ: Cleaning AC Coils DIY Questions
Can I clean my AC coils myself?
Yes, you can clean lightly dirty outdoor coils yourself when you can shut off power and reach them safely. Use a soft brush, low-pressure water, and a cleaner made for the coil. Cleaning AC coils DIY is not a good fit for ice, leaks, heavy mold, damaged wiring, or sealed indoor compartments.
What can I spray on AC coils?
Use a non-acidic HVAC coil cleaner that matches the indoor or outdoor coil. Light dust may need only water. Avoid bleach, oven cleaner, ammonia, and mixed chemicals. Always follow the product label for dwell time, dilution, ventilation, and rinsing.
Can I use a pressure washer on AC coils?
No, don't use a pressure washer on AC coils. High pressure can flatten the thin fins and restrict airflow. A garden hose with a gentle fan pattern is enough for many outdoor cleaning jobs. Spray along the fin direction and keep water away from electrical parts.
How often should AC coils be cleaned?
Check the outdoor condenser each spring and clean it when dirt blocks the fins. Indoor coils may need less frequent cleaning in a clean home, but pets, construction dust, and poor filters can shorten that gap. Replace filters on schedule and inspect the system when airflow drops.
When should I call an HVAC professional?
Call a professional when the coil is iced, badly damaged, hard to access, or tied to a drain, electrical, or refrigerant problem. Home Worx Heating and Cooling serves homes and small businesses in the seven local communities named above, including emergency repair needs.
Conclusion
DIY coil cleaning is reasonable for light dirt on an accessible unit. Shut off power, work gently, use the right cleaner, and let everything dry before testing. If the system has ice, leaks, mold, electrical damage, or poor cooling after the job, contact Home Worx Heating and Cooling for local help in Auburn, Colfax, Rocklin, Roseville, Grass Valley, Penn Valley, or Lincoln.