
How to Clean Your AC Drain Line Step by Step
- Bryn Fortmuller
- Jul 29
- 9 min read
A clogged AC drain line is one of the most common reasons a system shuts down on the hottest day of summer. The fix is simpler than most people expect, and you can do it in about 20 to 30 minutes with tools you probably already own. Here's exactly how to clean your AC drain line from start to finish, plus what to do if the clog won't budge.
Table of Contents
Step 1: Turn Off Power and Locate the Drain Line
Your goal here is simple: get to the drain line safely without any electricity running to the unit. This step isn't optional. Every reputable HVAC source confirms that working on an energized system is a real electrocution risk.
Start at your thermostat and switch the system to "off." Then go to your electrical panel and flip the breaker that controls your air handler or furnace. If you're not sure which breaker it is, look for labels near the panel or check your system's manual. Don't skip the breaker step just because the thermostat is off.
Once power is off, find the drain line. Your AC has a condensate drain line that runs from the indoor unit to the outside. Look near the indoor air handler for a vertical PVC pipe with a cap, that's the access point. The other end of the line exits somewhere near the outdoor unit, usually a white or copper pipe close to the ground. Most residential drain lines use gravity to move water out, though some systems use a small pump to move condensate upward.
If your system has been running and you suspect ice buildup on the evaporator coil, let it sit for 30 to 60 minutes before you touch anything. Working around frozen components can damage the coil and makes it harder to assess the drain pan properly. Patience here saves you a headache later.
While you wait, gather your tools. You'll need a wet/dry vacuum or shop vac, distilled white vinegar, a small bucket, and a flashlight. A plumber's snake or an appropriate cleaning tool is useful if the clog is stubborn. These are the tools that show up in nearly every reliable guide on this process, and for good reason, they work.
By the end of this step, power is off at the breaker and you can see both the access point near the indoor unit and the drain outlet near the outdoor unit.
Step 2: Inspect and Clear Visible Blockages
Pull the cap off the access port on the vertical PVC pipe near your indoor unit. Shine your flashlight down into it. You're looking for standing water, dark sludge, or visible algae growth. Any of those means the line is at least partially blocked.
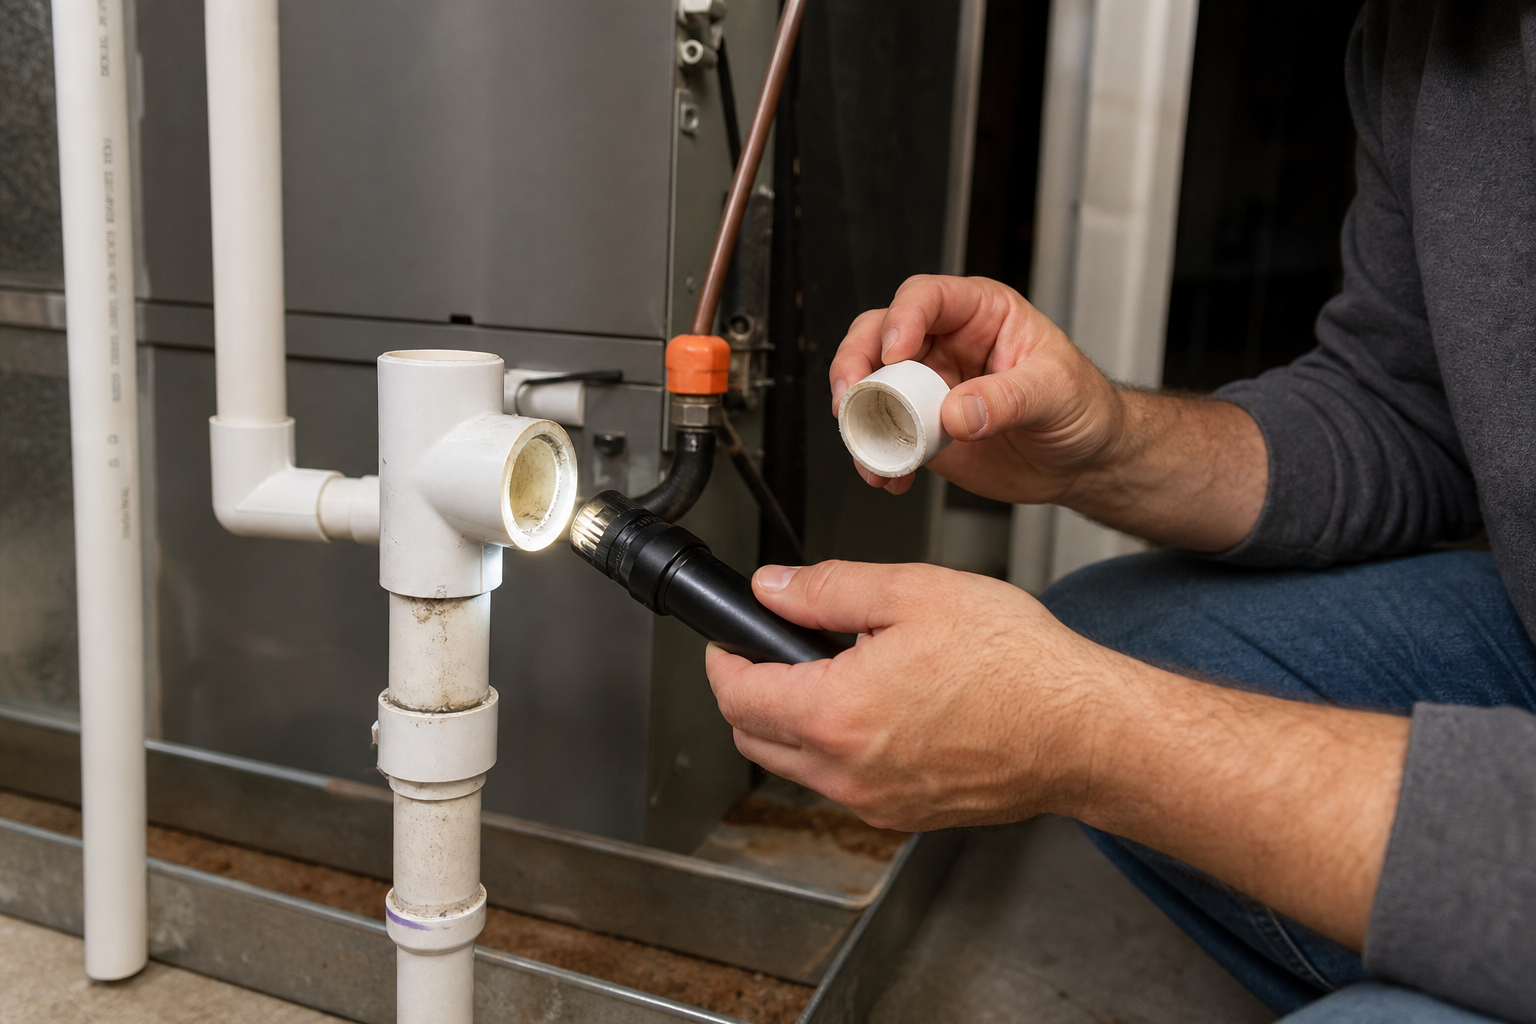
Next, check the drain pan sitting under your indoor evaporator coil. If there's standing water in the pan, that confirms the line is blocked. Use a cloth or a small wet/dry vacuum to pull out any standing water before you move on. Leaving it there while you work just means more mess if the line backs up again during cleaning.
Now move to the outdoor end of the drain line. Look at the pipe opening near the outdoor unit. Sometimes you'll find the clog right there , a spider nest, mud, or compacted debris blocking the exit. Clear anything visible by hand or with a thin brush.
For the indoor side, attach your wet/dry vacuum hose to the outdoor drain line opening and run it for two to three minutes. This pulls the clog toward you rather than pushing it deeper into the system. A shop vac with strong suction handles most soft clogs , algae, mold, and light sludge , without any additional tools. If you have a stubborn, solid blockage, a long flexible cleaning rod can provide direct mechanical clearing. Insert the rod slowly and turn it by hand until you encounter resistance, then work through it.
The same dry-first approach that works for AC coil cleaning applies here: vacuum out loose debris before introducing any liquid. It makes the flush in the next step more effective because you're not just pushing sludge around.
Once the vacuum run is done, shine your flashlight into the access port again. If you can see through to daylight or the water level in the pan has dropped, you've made real progress. If the pan is still full, the clog is deeper and the vinegar soak in Step 3 will do the heavy work.
Step 3: Flush the Drain Line with a Cleaning Solution
This is where most DIY guides get it wrong. A quick suction pass feels satisfying, but the real fix for algae and mineral buildup is a proper soak. The longest single action in this whole process , letting the solution sit for 15 to 30 minutes , is also the most skipped one.
Distilled white vinegar is the right first choice. It's antimicrobial, mild enough that it won't damage PVC or metal coil components, and it breaks down the organic buildup that causes most clogs. on drain line cleaners, vinegar is safe for PVC, ABS, most plastics, and metal coils when used intermittently, and many HVAC professionals recommend it as a first-line defense because it's affordable and poses minimal risk to system components.
Pour one cup of distilled white vinegar directly into the access port. Let it sit for 15 to 30 minutes. Don't rush this. The vinegar needs time to break down the sludge lining the pipe walls, not just the visible blockage at one point.
Pro Tip:If the clog is severe and vinegar alone isn't clearing it, a commercial HVAC drain cleaning solution can be an effective upgrade. Avoid harsh chemical drain cleaners entirely; they're corrosive to both PVC and older metal pipes and can damage your system's components.
What about bleach? Use it only as a last resort, heavily diluted, and with good ventilation. Concentrated bleach corrodes metal components over time and produces fumes that can damage coil coatings. It's not the routine maintenance tool some older guides suggest.
After the soak, follow with a slow flush of warm water poured into the access port or the drain pan. Watch the outdoor end of the line. Water should flow out steadily. If it drains freely, the line is clear. If it backs up, repeat the vinegar soak and vacuum step before moving on.
The whole flush process , soak plus rinse , typically takes 20 to 30 minutes. Budget that time rather than rushing through it. A thorough clean now means fewer clogs over the next several months.
Step 4: Test the Drain Flow and Re‑assemble Components
Before you put anything back together, confirm the line is actually clear. Pour a slow, steady stream of clean water into the access port or directly into the drain pan. Watch the outdoor pipe end. You want to see a smooth, uninterrupted flow , not a trickle that stops and starts.
If water backs up into the pan or drains very slowly, the clog isn't fully gone. Go back and repeat the vacuum pull from the outdoor end, then do another vinegar soak. Most clogs clear after one or two rounds. If you've done three attempts and the line still won't drain, that's a sign the blockage is either very deep or hardened enough that it needs a professional snake or hydro-jetting.
Once water flows freely, wipe out the drain pan with a dry cloth. Any residual sludge sitting in the pan will just start a new clog. Check the pan for cracks or rust while you're in there , a damaged pan can leak water onto your floor even when the drain line itself is clear.
Replace the cap on the access port. Make sure it seats firmly. A loose cap can let debris fall into the line or allow drain gases to escape into your utility space.
Now restore power. Flip the breaker back on, then set your thermostat to cooling mode. Give the system five to ten minutes to run. Go back and check the drain pan. It should be dry or show only a thin film of moisture moving toward the drain. If water is pooling again quickly, something is still restricting flow and it's worth getting a technician to take a look.
Listen to the system while it runs. A gurgling sound near the indoor unit sometimes means air is getting into the drain line , that usually resolves on its own once normal condensate flow re-establishes. A persistent gurgle after 15 minutes of operation is worth investigating further.
By the end of this step, the line is clear, the pan is dry, the cap is on, and the system is running normally.
Step 5: Set Up Preventative Maintenance Schedule
Cleaning the drain line once fixes today's problem. A schedule prevents the next one. Industry guidelines recommend keeping HVAC drip pans clean and flowing properly, and maintaining indoor humidity below 60% to prevent mold growth, both of which depend directly on a clear drain line.
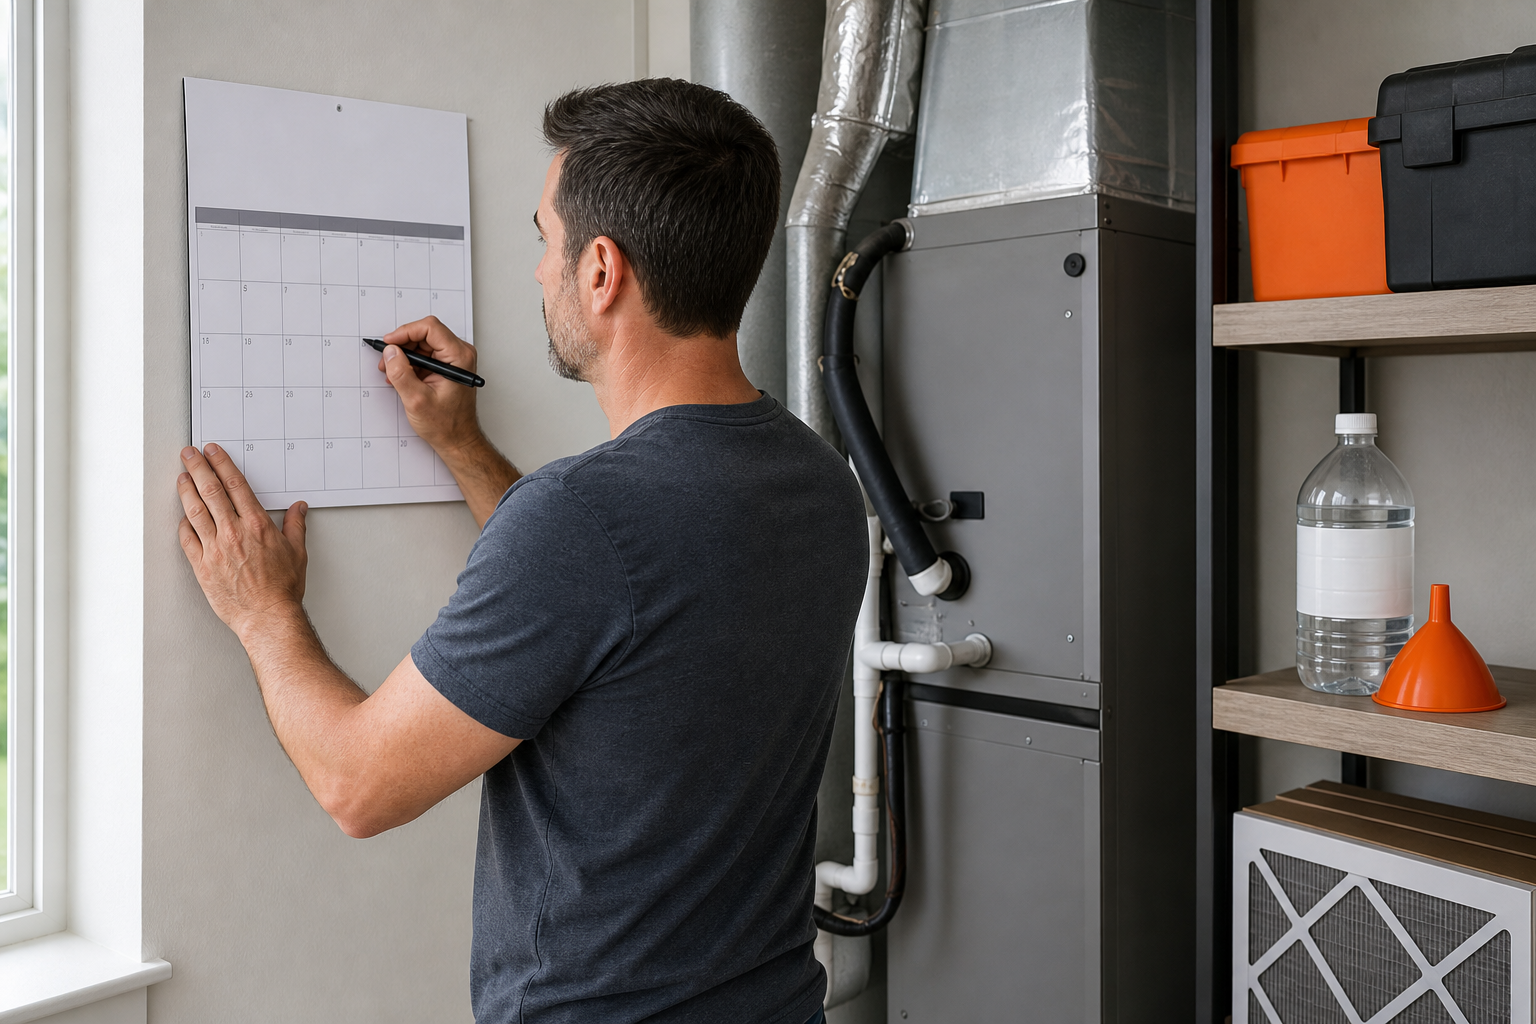
Here's a simple maintenance rhythm that works for most homes in the Placer and Nevada County area, where hot, dry summers mean the AC runs hard from May through September:
Monthly during cooling season:Pour one cup of distilled white vinegar into the access port. This keeps algae from getting a foothold before it becomes a clog.
Every 3 months:Do a full vacuum pull from the outdoor end and a water flow test. This catches slow-developing blockages before they cause a shutdown.
Once a year (spring):Do the complete cleaning process from Steps 1 through 4. Pair it with a filter change and a check of the drain pan condition.
Algae-prevention tablets placed in the drain pan are another low-effort option. They dissolve slowly over several weeks and continuously treat the water passing through the system. They're especially useful for vacation homes or rental properties where you can't do monthly pours.
Key Takeaway:A monthly vinegar pour costs almost nothing and prevents the kind of full clog that shuts your system down mid-summer.
If you want drain line maintenance folded into a broader tune-up, our summer HVAC maintenance checklist walks through every task to run before cooling season, including coil checks, filter changes, and thermostat calibration.
Systems with consistent drainage maintenance last significantly longer than those with chronic clogs. Water backing up repeatedly corrodes the evaporator coil, damages the drain pan, and forces the compressor to work harder against improved indoor humidity. The maintenance schedule isn't extra work , it's what keeps a 15-year system from failing at year 10.
If you'd rather hand this off entirely, Home Worx Heating and Cooling offers full HVAC maintenance service for as low as $120 a month, with next-day scheduling available for homeowners in Placer and Nevada County. That plan covers drain line cleaning along with the rest of the system, so nothing gets missed.
FAQ
How often should I clean my AC drain line?
Clean the drain line at least once a year, ideally in spring before cooling season starts. During active summer months, pour one cup of distilled white vinegar into the access port monthly to prevent algae buildup. Homes in humid climates or those with older systems may benefit from a full clean every six months. Regular maintenance prevents the kind of clog that triggers a system shutdown.
What happens if I don't clean the AC drain line?
A blocked drain line causes water to overflow the drain pan and spill onto surrounding floors, walls, or ceilings. Most modern systems have a safety float switch that shuts the unit down when water backs up, leaving you without AC. Beyond the immediate water damage, standing water in the pan creates ideal conditions for mold growth, which spreads through ductwork and affects indoor air quality.
Can I use bleach to clean the AC drain line?
Bleach is not recommended for routine drain line cleaning. Concentrated bleach corrodes metal components over time, degrades some PVC plastics with repeated use, and produces fumes that can damage coil coatings. Distilled white vinegar or a mild, non‑corrosive cleaning solution is a safer, effective alternative for regular maintenance. If you must use bleach, dilute it heavily, use it only once, and rinse thoroughly afterward.
How do I know if my AC drain line is clogged?
The most obvious sign is water pooling under or around the indoor air handler. You might also notice the system shutting off unexpectedly, reduced cooling performance, or a musty smell coming from the vents. Some units have a safety switch that cuts power when the drain pan fills up. If your AC stops working on a hot day and you see standing water near the indoor unit, a clogged drain line is the likely cause.
How long does it take to clean an AC drain line?
Plan for 20 to 30 minutes for a thorough clean. The vinegar soak alone takes 15 to 30 minutes of sitting time, which is the step most guides underestimate. The actual hands-on work , vacuuming, flushing, and reassembling , takes about 10 minutes. If the clog is stubborn and requires multiple rounds, budget closer to an hour.
When should I call a professional instead of doing it myself?
Call a professional if the line stays blocked after two or three cleaning attempts, if you see water damage on walls or ceilings, or if the drain pan is cracked or corroded. Home Worx Heating and Cooling serves Placer and Nevada County homeowners and can typically schedule a visit the next day. A technician can also inspect the evaporator coil and refrigerant lines while they're there, catching problems a DIY clean won't reveal.
Conclusion
Most AC drain line clogs clear with a shop vac and a 30-minute vinegar soak , no special skills required. Do it once a year in spring, add a monthly vinegar pour during cooling season, and your system will drain reliably all summer. If you run into a clog that won't budge, or you'd rather have a pro handle the whole system tune-up, contact Home Worx Heating and Cooling's maintenance plan options , we serve Colfax, Auburn, Grass Valley, and the wider Placer and Nevada County area with next-day service.