
How to Tell If Your AC Compressor Is Bad
- Bryn Fortmuller
- Jul 27
- 9 min read
Your AC is running, but the house won't cool down. That's one of the most confusing situations a homeowner faces, because a compressor can hum along and still be completely dead inside. Knowing how to tell if your AC compressor is bad before calling a technician can save you time and help you ask the right questions when you do call.
Step 1: Turn Off Power and Inspect the Unit
Your goal here is to get a safe, clear look at the outdoor condenser unit before you touch anything else. Start at the breaker panel and flip the AC circuit to the off position. Then find the disconnect box on the wall near the outdoor unit and pull that too. Wait at least five minutes after cutting power before opening any panels.
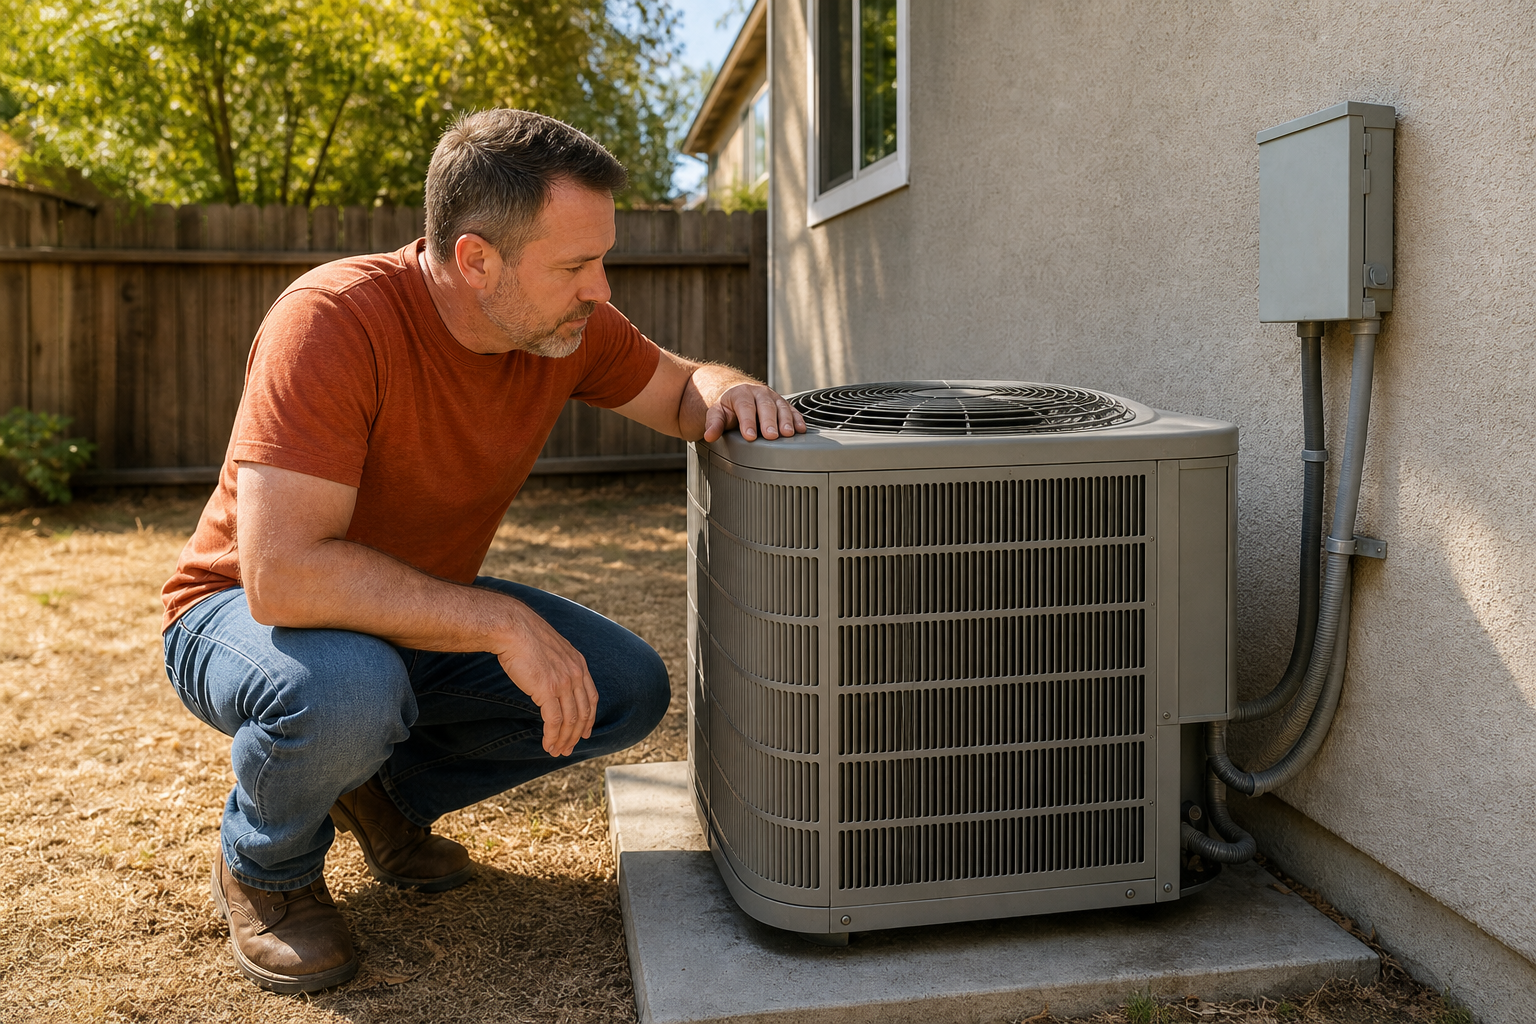
Once power is off, remove the side access panel on the condenser. Look at these four things in order:
- Capacitor:A bulging or leaking capacitor is a clear sign of failure. If the top is domed instead of flat, or you see oily residue around the base, the capacitor has likely failed. You don't need a meter to spot this one.
- Contactor:Look at the contact points. Pitted, blackened, or burnt contacts mean the contactor is wearing out. A bad contactor can cause the compressor to chatter and click without ever fully starting.
- Wiring:Check for burnt, frayed, or loose wires at the compressor terminals and at the disconnect box. Scorched insulation is a red flag.
- Physical damage:Look at the compressor body itself. Oil stains on the outside often mean a refrigerant or oil leak. Rust or corrosion around the base can indicate long-term moisture issues.
These visual checks take less than ten minutes and often point directly to the problem. A bad capacitor, for example, is one of the most common reasons a compressor won't start, and you can spot it without any tools at all. If the capacitor looks fine and the wiring is clean, move to the next step.
For context on what a well-maintained system looks like, our summer HVAC maintenance checklist for homeowners covers what to check each season before problems develop.
Pro Tip:Take a photo of the wiring before you disconnect anything. It makes reassembly much easier and gives a technician a clear reference if you end up calling for help.
Step 2: Listen for Unusual Noises
Restore power briefly just long enough to listen, then stand near the outdoor unit when the thermostat calls for cooling. What you hear tells you a lot about what's failing inside.
Here's how to read the sounds:
- Single soft click at startup, then steady hum:Normal. The contactor is engaging and the compressor is running.
- Click, then hum, then nothing:The compressor is trying to start but can't. This pattern often points to a weak capacitor that can no longer deliver the burst of energy the motor needs at startup.
- Rapid or repeated clicking:The contactor may be chattering. This happens when the 24-volt signal from the thermostat is weak or when the contactor contacts are pitted and failing to hold a clean connection.
- Grinding or clanking:Shut the unit off immediately. Metal-on-metal sounds inside the compressor usually mean internal mechanical damage.
- High-pitched squealing or screeching:This can come from a worn bearing in the clutch assembly. Bearing noise that changes when you toggle the AC on and off is often the clutch pulley bearing, while noise that stays constant regardless of AC status may point deeper into the compressor.
One important point: noise alone is not a reliable health indicator. A compressor can run quietly and still be failing. The "running but no cooling" condition, where the unit hums normally but delivers no cold air, is one of the most common signs of catastrophic internal failure. The motor turns, but the internal valves or pistons are gone. You won't hear a thing unusual. That's why noise checks are only the second step, not the final word.
The compressor pressurizes refrigerant in the refrigeration cycle, so mechanical failure inside it stops cooling entirely even when the motor still runs.
Step 3: Check Electrical Tests (Windings, Capacitor, Contactor)
Cut power again before doing any of this. Electrical tests are where you move from guessing to knowing. You need a digital multimeter for these checks. Most of the diagnostic work technicians do on a compressor comes down to two tests: winding resistance and short-to-ground .
Winding Resistance Test
Disconnect the three compressor terminals (Common, Start, Run). Set your multimeter to resistance mode (ohms). Measure between each pair of terminals. On a healthy compressor, the readings should be roughly equal across all three pairs, typically in the range of 0.3 to 2.0 ohms depending on the unit size and ambient temperature. Technical guidelines specify that a reading of 0 ohms (short circuit) or an open‑circuit reading means the compressor must be replaced.
If one winding reads significantly higher or lower than the others, the motor windings are unbalanced. That's a failed compressor.
Short-to-Ground Test
With the terminals still disconnected, measure resistance from each terminal to a clean, unpainted metal point on the compressor body. You should read infinity (no continuity). Any low resistance reading or continuity to ground means the compressor is shorted internally. This is called a grounded compressor, and it's the failure mode that causes the unit to trip the breaker repeatedly.
Capacitor and Contactor Checks
If your multimeter has a capacitance mode, test the capacitor's MFD (microfarad) rating. A reading outside the plus or minus 6% tolerance stamped on the capacitor label means it has failed, even if it looks fine physically. For the contactor, with power fully off, press the contactor in manually. If the compressor starts, the contactor coil is likely bad rather than the compressor itself.
These electrical tests appear in the majority of professional diagnostic checklists because they give a definitive answer. Visual and noise checks point you in a direction. Electrical tests confirm or rule out compressor failure. If windings test good but the unit still won't cool, the next step is pressure.
Key Takeaway:If your winding resistance reads balanced and the short-to-ground test is clean, the compressor motor is electrically healthy. Look upstream at the capacitor, contactor, or control circuit before condemning the compressor.
Step 4: Measure Suction and Discharge Pressures
This step requires a manifold gauge set and knowledge of the refrigerant used in your system. If you don’t have gauges, this is the point where calling a licensed technician makes sense. In California, handling refrigerant is regulated, so pressure testing is generally a job for a certified professional.
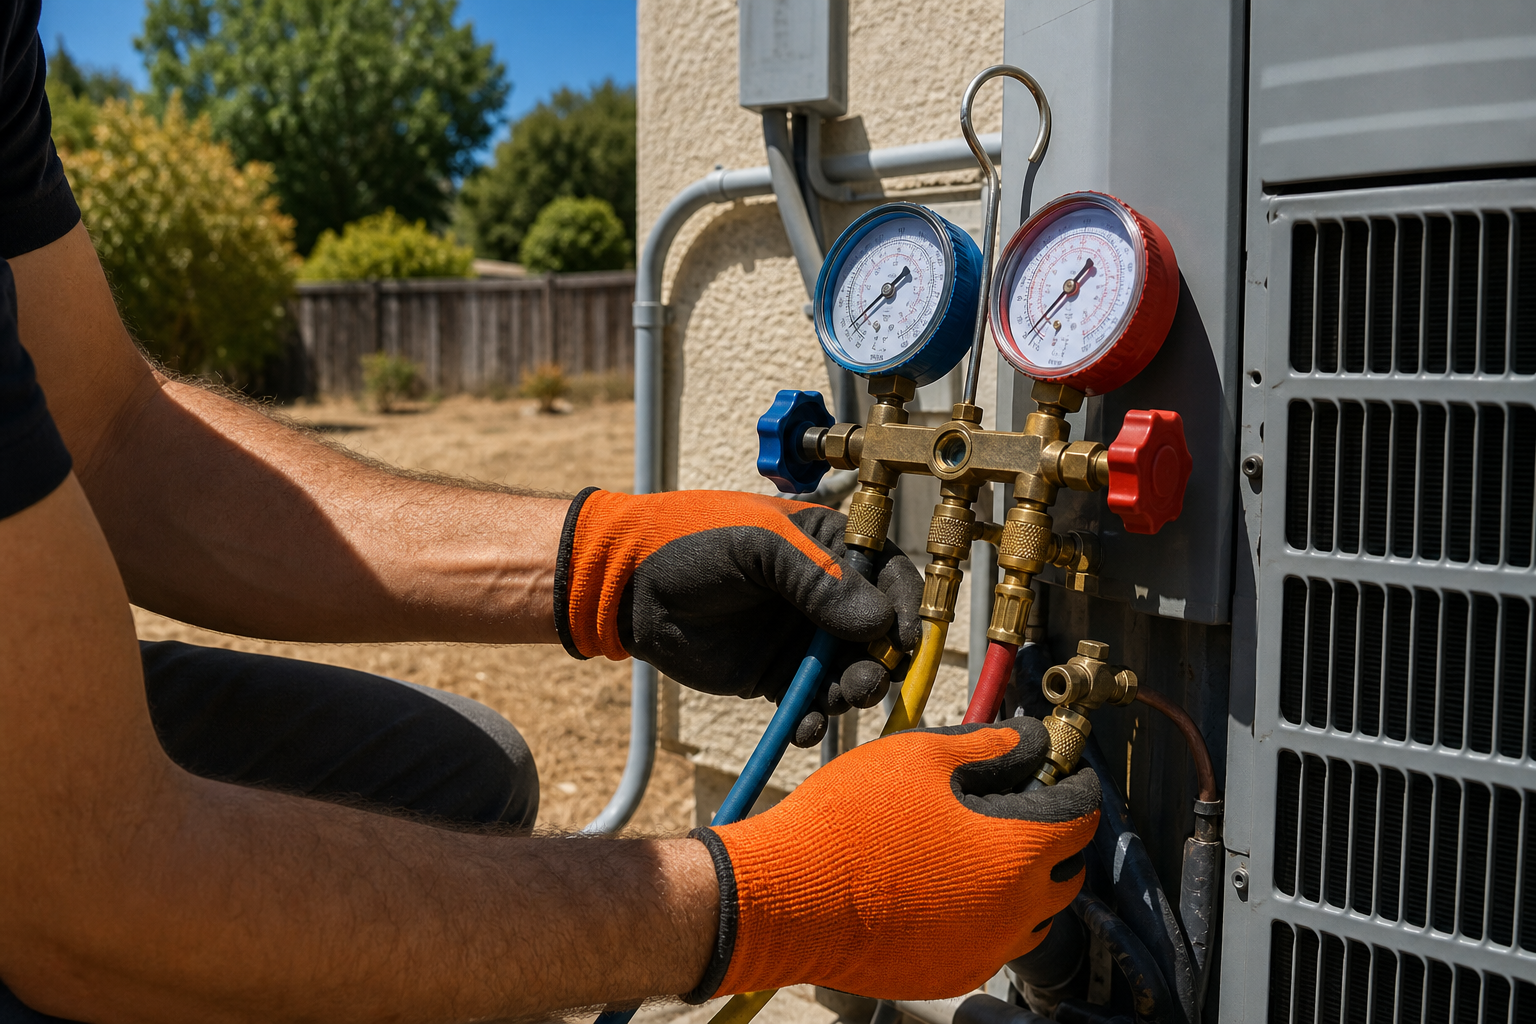
Here's what the pressure readings tell you:
Reading | What It Suggests | Next Action |
High suction, low discharge | Worn compressor valves or pistons (inefficient compressor) | Confirm compressor failure and plan for replacement |
Low suction, low discharge | Low refrigerant charge or refrigerant leak | Check for leaks before assuming compressor fault |
Normal pressures, no cooling | Possible metering device or airflow issue | Check TXV, filter, and coils before condemning compressor |
High suction and discharge both | Overcharge or non‑condensable gases in system | Recover refrigerant and recharge to spec |
The high‑suction, low‑discharge pattern is the key one. When suction pressure is abnormally high and discharge pressure is low, the compressor is not pumping efficiently. The internal valves are worn or broken. The motor runs, the refrigerant moves, but the pressure differential that drives cooling is gone. This is the pressure signature of a mechanically dead compressor.
Pressure‑based diagnostics catch things electrical tests miss. A compressor can pass every winding test and still have failed valves. That’s why a full diagnosis needs both electrical and pressure data before anyone makes a replacement decision. If you’re managing an older system in the Placer or Nevada County area and want these tests done properly, the team at Home Worx Heating and Cooling carries the equipment and certification to run the full checklist.
If you’re also dealing with related system issues, our guide on how to clean air conditioner coils covers a maintenance step that affects system pressure and efficiency and is worth checking before assuming the compressor is the only problem.
Step 5: Evaluate Results and Decide on Repair or Replacement
Once you have your inspection findings, noise observations, electrical test results, and pressure readings, you can make an informed decision. Here's how to read the results together.
When the Compressor Is Likely Fine
If the winding resistance is balanced, the short-to-ground test shows no continuity, and pressures are close to spec, the compressor itself is probably not the problem. A bad capacitor, a failed contactor, or a wiring fault is more likely. These are relatively inexpensive repairs, often under a few hundred dollars for parts and labor.
When the Compressor Has Failed
Failed windings, a grounded compressor, or a high‑suction/low‑discharge pressure reading all point to compressor failure. At that point, the decision shifts to repair versus replacement of the whole system.
Compressor replacement costs can vary widely, often depending on unit size and brand. A full system replacement starts around a few thousand dollars and can go significantly higher. The age of your system matters a lot here. If the unit is under ten years old and otherwise in good condition, replacing just the compressor may make sense, especially if the manufacturer's warranty is still active. Many compressor warranties run ten to fifteen years and may cover part or all of the replacement cost, though only if annual maintenance was kept up.
If the system is older, replacing the most expensive component in an aging unit often doesn't make financial sense. The closer a system gets to the ten‑year mark, the more likely other components are also worn. Spending a significant amount on a compressor for a system that may need full replacement soon is often not cost‑effective. A licensed technician can help you weigh those numbers honestly.
For homeowners in Auburn, Colfax, Grass Valley, and the surrounding Sierra foothills, there's another factor: California energy rebates. PG&E and state programs sometimes offer incentives for upgrading to a higher‑efficiency system when a major component fails. Home Worx Heating and Cooling can walk you through current rebate eligibility so you're not leaving money on the table when you're already writing a big check.
If you need service quickly, our breakdown of emergency AC repair services in Placer and Nevada County covers what to expect from a same‑day call and how to choose a provider when your system goes down in summer heat.
"If your AC is blowing warm air and not cooling your house, you probably need a new AC compressor. Since the AC compressor is a critical component of your cooling system, budget for this project and hire a professional HVAC technician who can install it properly."
Contact Home Worx Heating and Cooling for reliable service in the Placer and Nevada County area.
Frequently Asked Questions
Can an AC compressor be bad even if it's still running?
Yes. A compressor can run continuously and still fail to cool your home. This happens when internal valves or pistons wear out. The motor turns, refrigerant circulates, but the compressor can no longer build the pressure difference needed to move heat out of your home. A winding resistance test and pressure reading together confirm this type of internal mechanical failure.
What does a bad AC compressor sound like?
A failing compressor may make a clicking sound without fully starting, a grinding or clanking noise that signals internal damage, or a high-pitched squeal from worn bearings. That said, some compressors fail silently. A unit that hums normally but delivers no cold air is just as likely to have a failed compressor as one that makes loud noises. Don't rely on sound alone to diagnose the problem.
How do I know if it's the capacitor or the compressor?
Start with the capacitor. Visually check for a bulging or leaking top. If you have a multimeter with capacitance mode, test the MFD rating against the label spec. A reading outside the plus or minus 6% tolerance means the capacitor has failed. If the capacitor tests good and the compressor still won't start, move to winding resistance and short-to-ground tests on the compressor terminals.
Is it worth replacing an AC compressor on an older unit?
Usually not once the system is past ten years old. A compressor replacement can be a significant expense, and costs vary widely depending on the unit and local rates. If the rest of the system is aging too, that money may be better applied toward a full replacement. If the unit is newer and the compressor is still under manufacturer warranty, replacement makes more sense. A local HVAC technician can give you a side-by-side cost estimate for both options.
Can I diagnose a bad AC compressor myself?
You can do the early steps yourself: visual inspection of the capacitor, contactor, and wiring, plus listening for unusual sounds. A basic multimeter handles the winding resistance and short-to-ground tests. Pressure testing requires a manifold gauge set and proper refrigerant handling certification in California, so that step needs a licensed technician. Getting through steps one and two before calling saves time on the service call.
How long does an AC compressor usually last?
Most residential compressors last ten to fifteen years with proper annual maintenance. In hot, dry climates like Placer and Nevada County, systems that run hard through long summers may reach the lower end of that range. Skipping annual tune-ups accelerates wear and can also void the manufacturer's warranty, which typically requires documented maintenance to remain valid.
For reliable AC compressor diagnosis or replacement in Placer and Nevada Counties, contact Home Worx Heating and Cooling.
Conclusion
Work through the steps in order: visual inspection first, then noise, then electrical tests, then pressure. Each layer narrows the diagnosis. If the electrical and pressure results both point to a failed compressor, get honest cost estimates for repair versus full replacement before committing. The team at Home Worx Heating and Cooling serves Placer and Nevada County homeowners with 24/7 emergency response and can run the full diagnostic checklist, pull permits, and walk you through any available California rebates. Reach out to Home Worx to schedule a service call and get a clear answer fast.